
This user has no description yet

kany
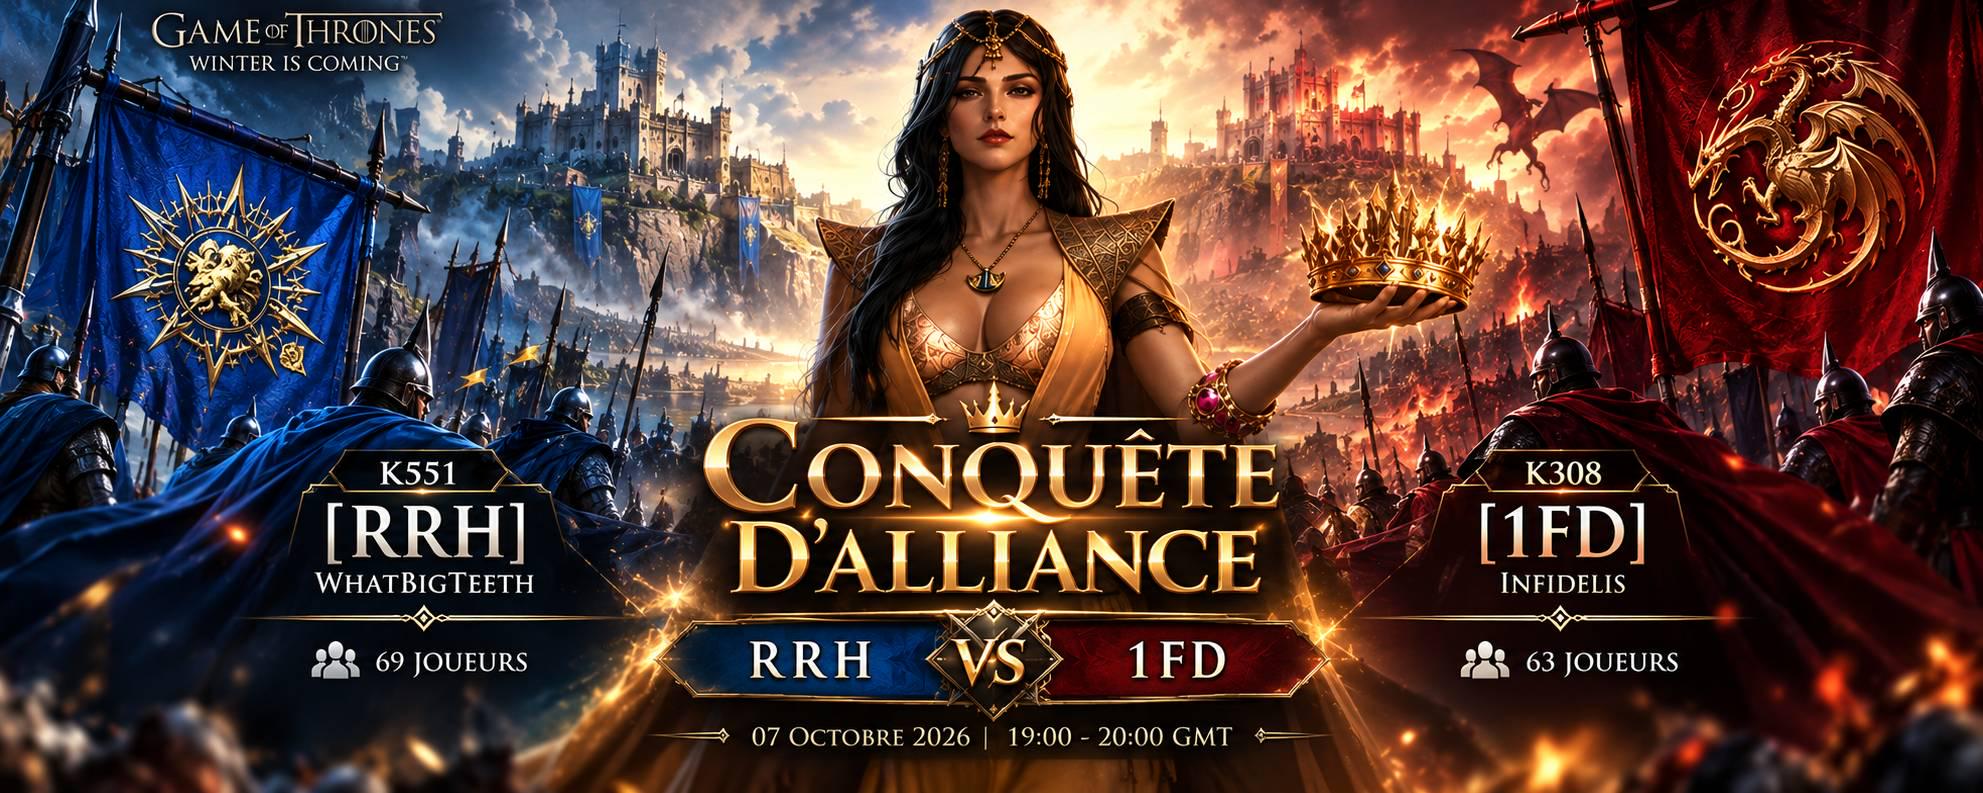

GOTWIC - ALLIANCE CONQUEST EVENT
RRH vs 1FD – October 7, 2026:

RRH has 69 players, compared to 63 for 1FD.

On the battlefield, 11 objectives are positioned across the map: the Temple of the Mother, the Warrior’s Tower, the Lannister Port, the Targaryen Port, the Lannister Outpost, the Targaryen Outpost, the Lannister Bastion, the Targaryen Bastion, the Lannister Mine, the Targaryen Mine, and finally, Casterly Rock.
At the start, the scoreboard shows 16,940 for RRH against 14,870 for 1FD.

An hour of combat awaits them. Eleven buildings are there to be captured, and each one has the potential to shift the balance of points.
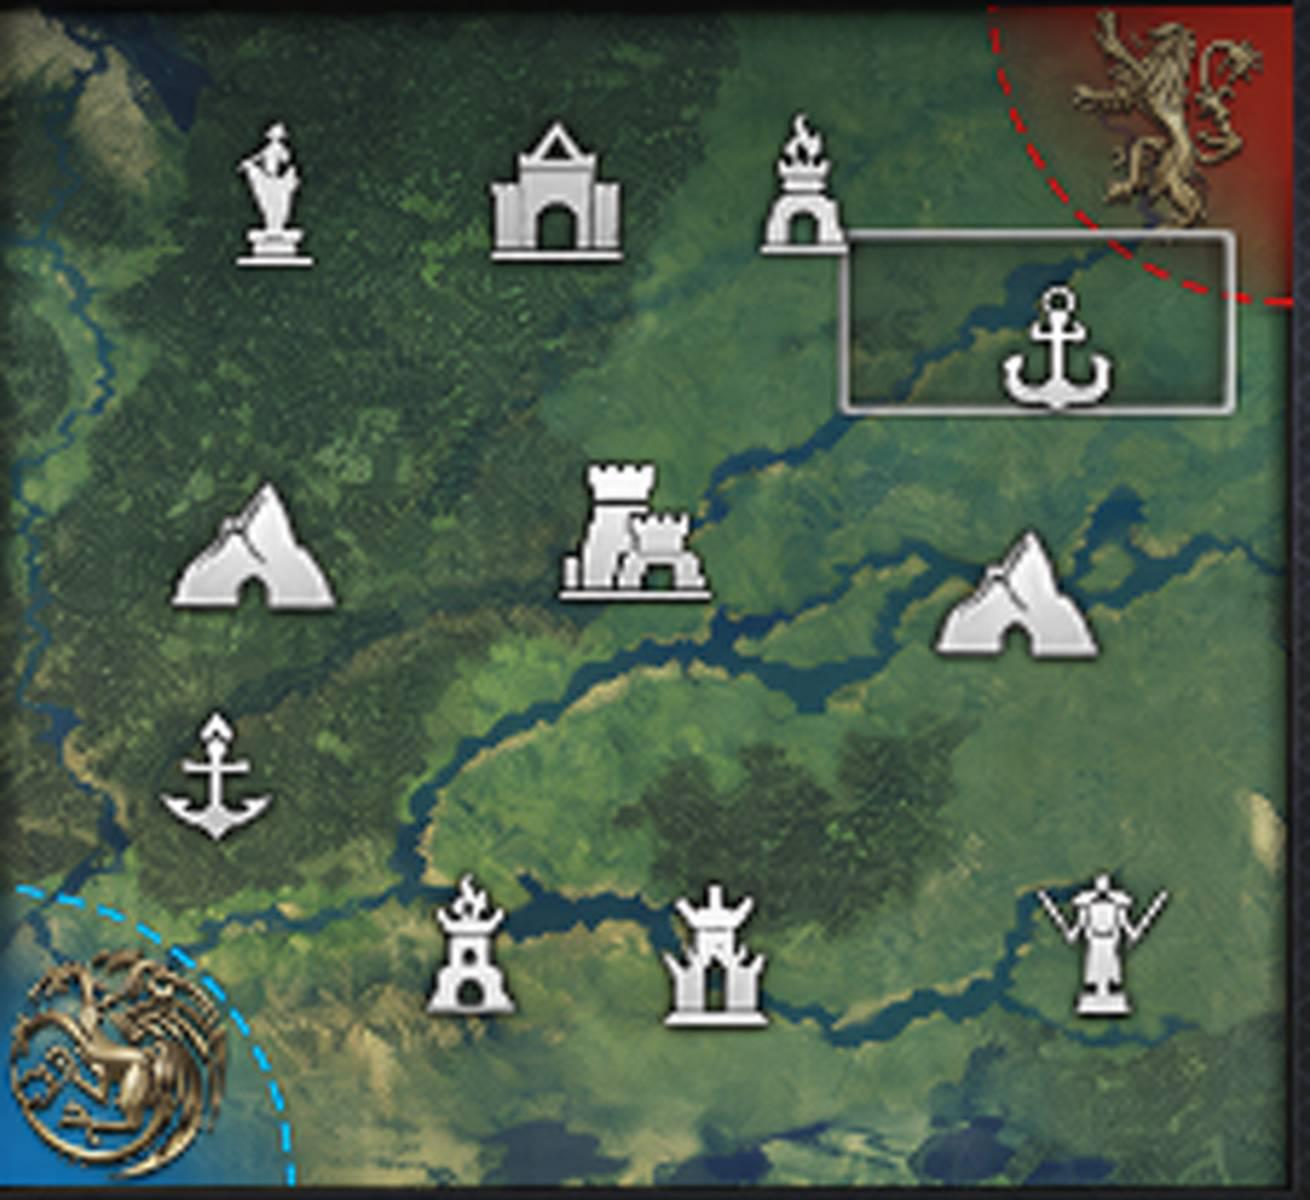
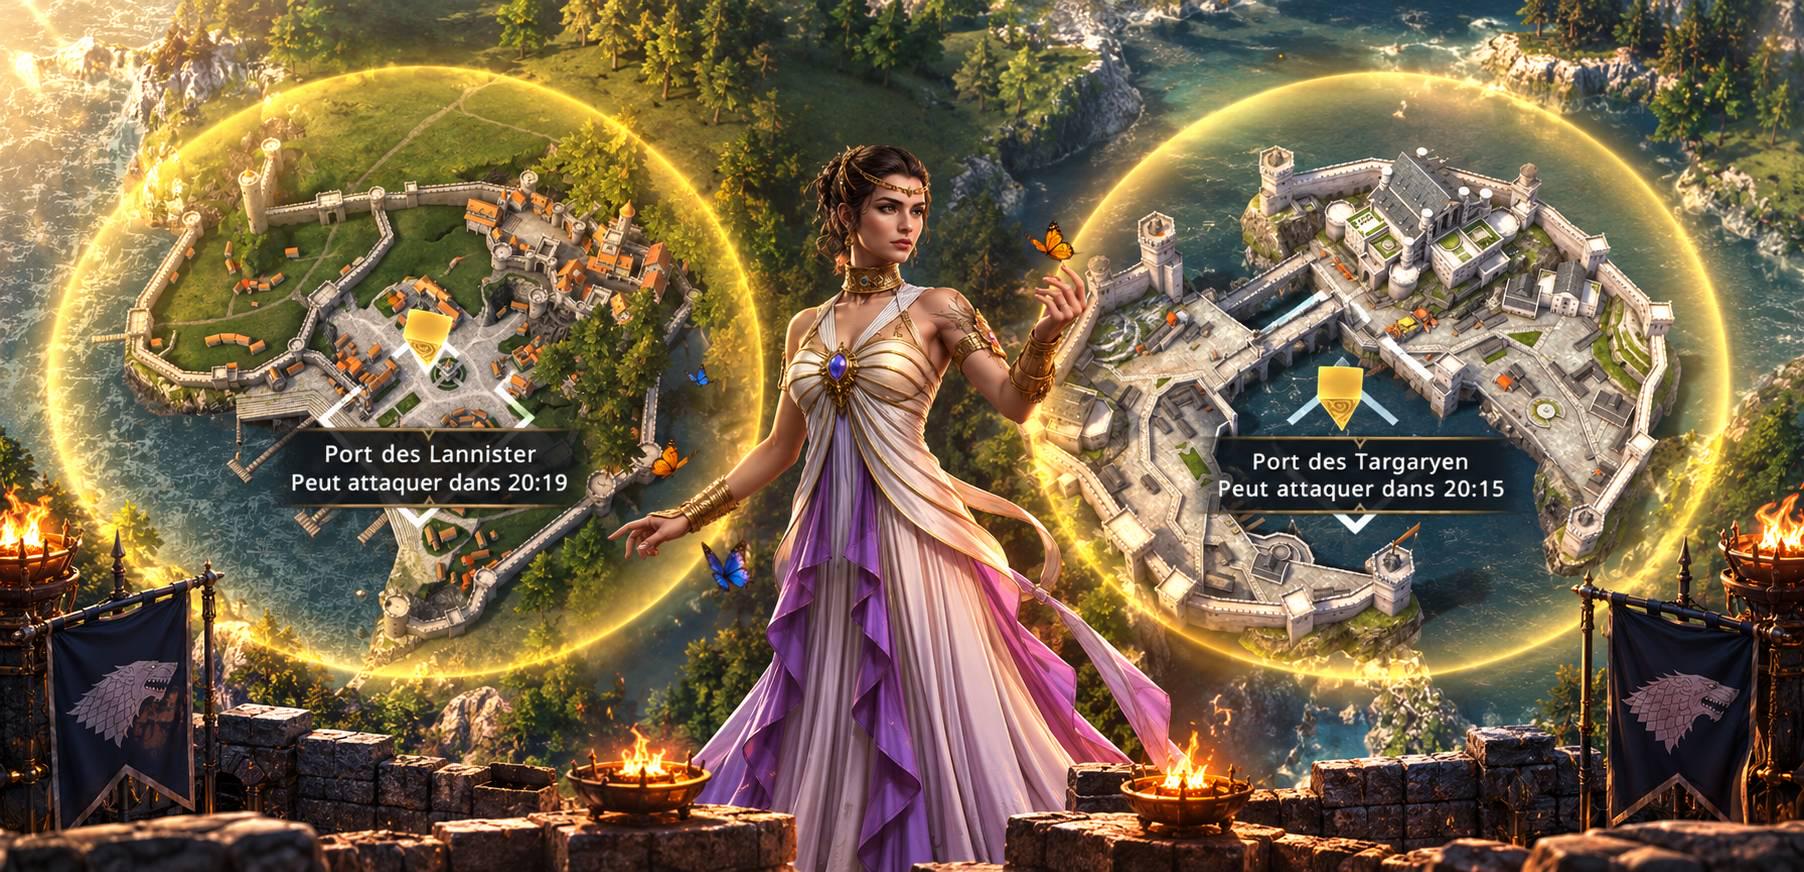
The initial photos show the buildings before the match begins. A golden halo surrounds the still-protected structures, just as timed indicators appear, allowing players to slightly anticipate the moment they can attack them.
I. Before the First Offensive
The opening phase: Temple of the Mother, Warrior’s Tower, Targaryen Outpost, and Lannister Outpost.
Time is running out.
Across the map, the first objectives are about to open. Each player must plan their marches to occupy these structures before anyone else.
The golden light surrounding them marks the final seconds of their protection.

The Targaryen and Lannister outposts open simultaneously. The first four structures must be occupied quickly, as every second spent without troops is an opportunity handed to the opponent.
Across the map, forces begin to march toward the various objectives.
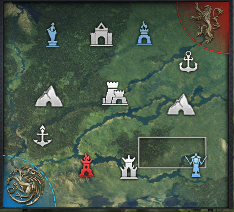
The RRH manage to capture three buildings, while the 1FD succeeds in occupying one. The latter, however, is quickly dislodged by simultaneous attacks carried out by the RRH.
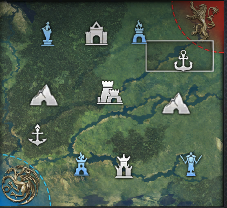
II. The Battle of the Two Ports
The Lannister Port and the Targaryen Port are part of the second wave of openings.
RRH has already secured the first four objectives, but must now increase its point yield while maintaining its current positions.
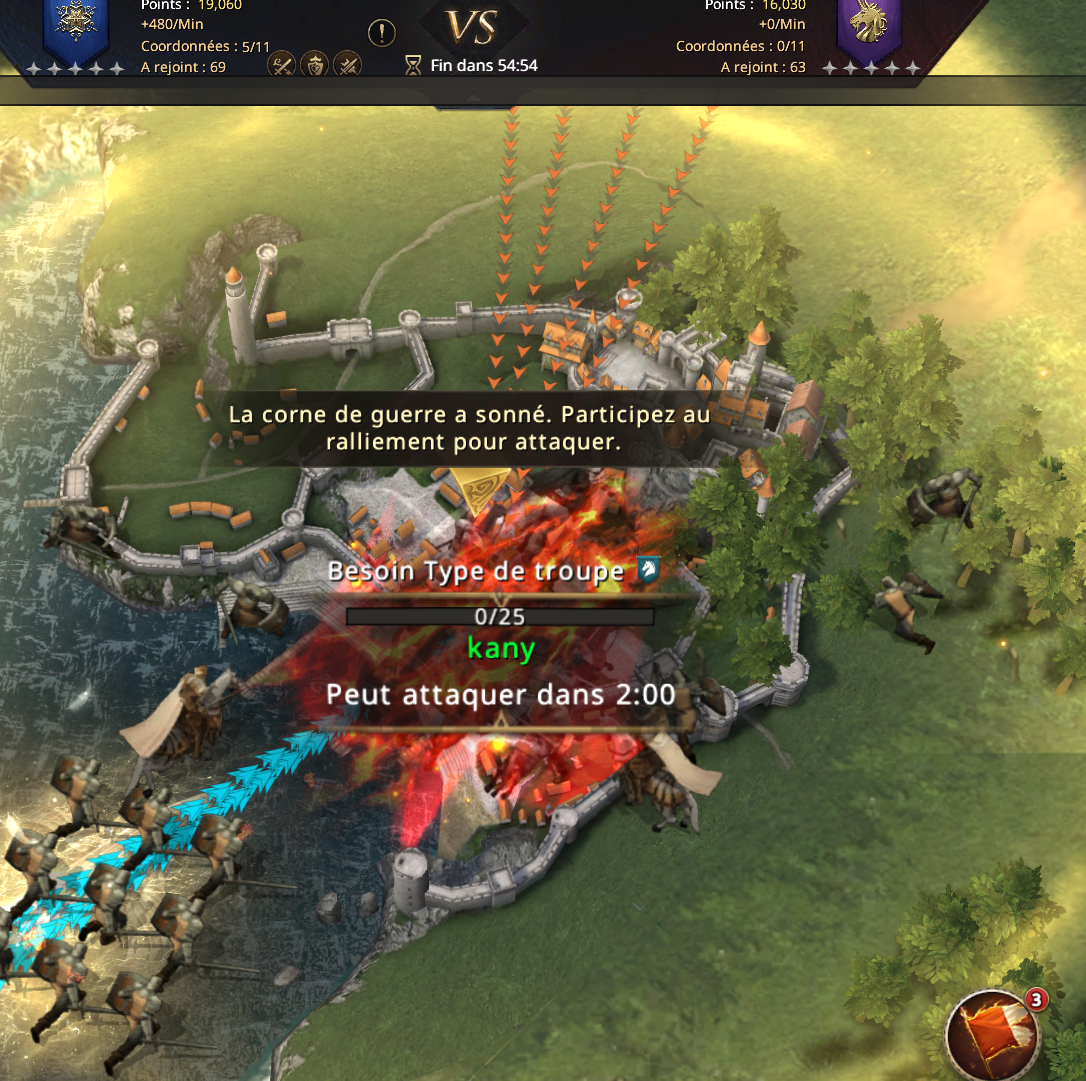
At Lannister Port, Kany launches her cavalry march.
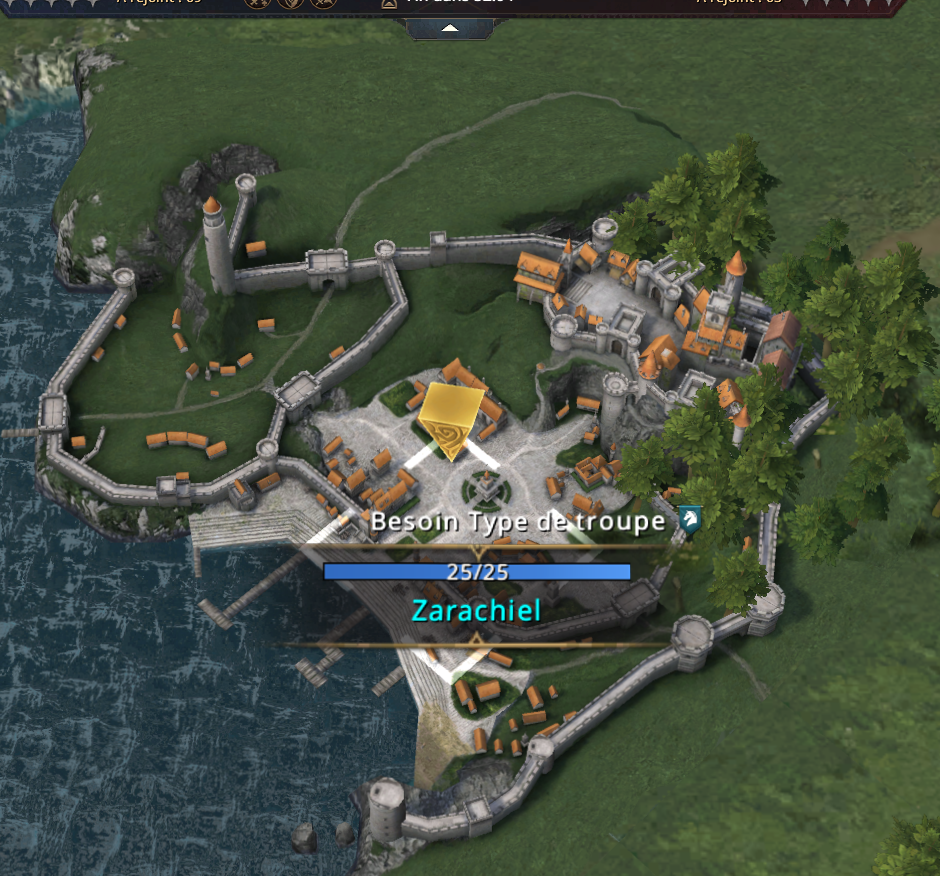
Kany had just captured the port; he will then swap with Zarachiel.
On the other side, the 1FD jun0 is the first to arrive at the port!
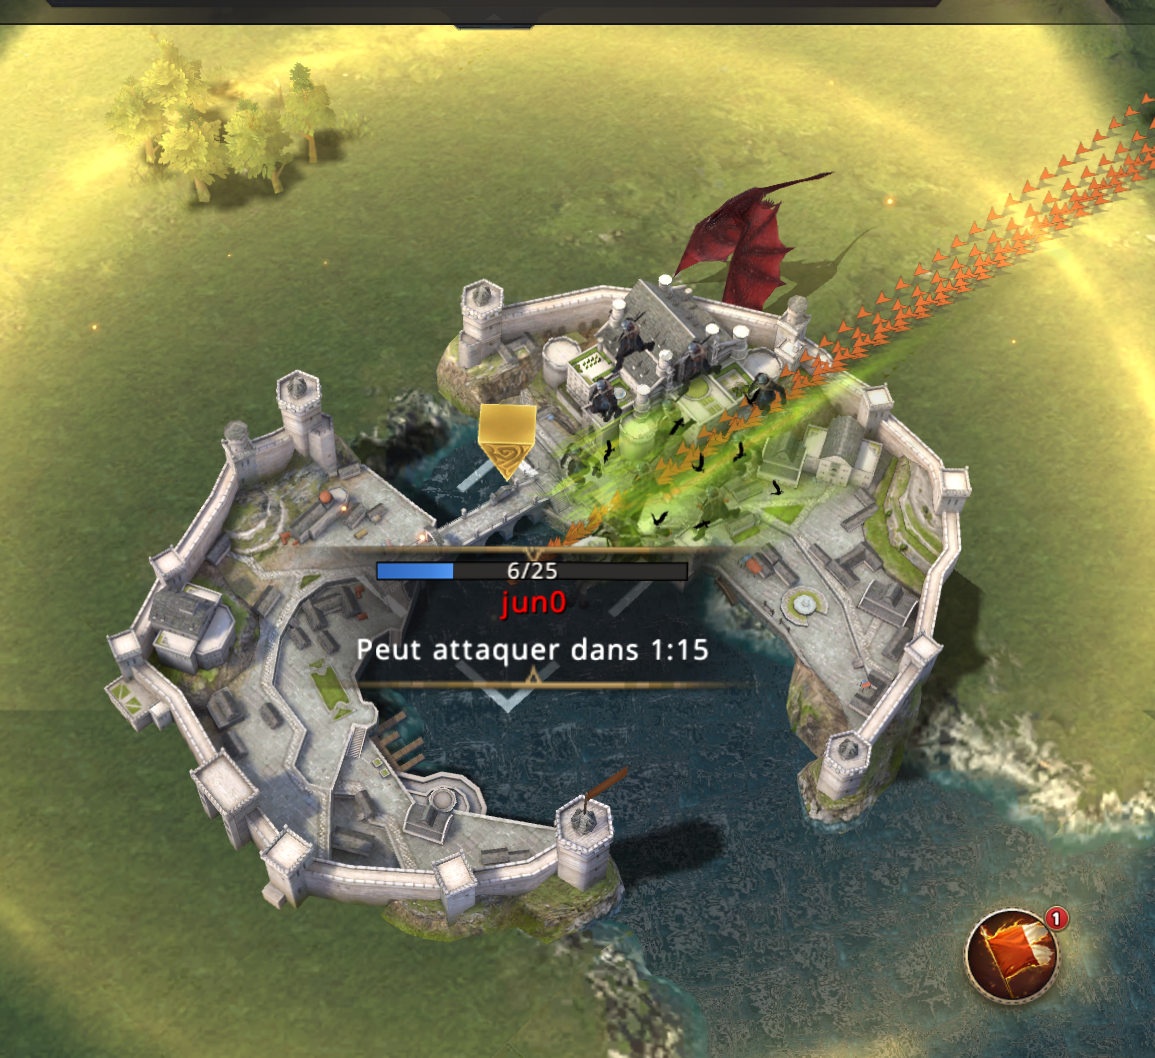
But RRH couldn't leave the port to him; solo attacks are launched immediately after the bubble drops.
And it is TryTon who is tasked with keeping the port secure.
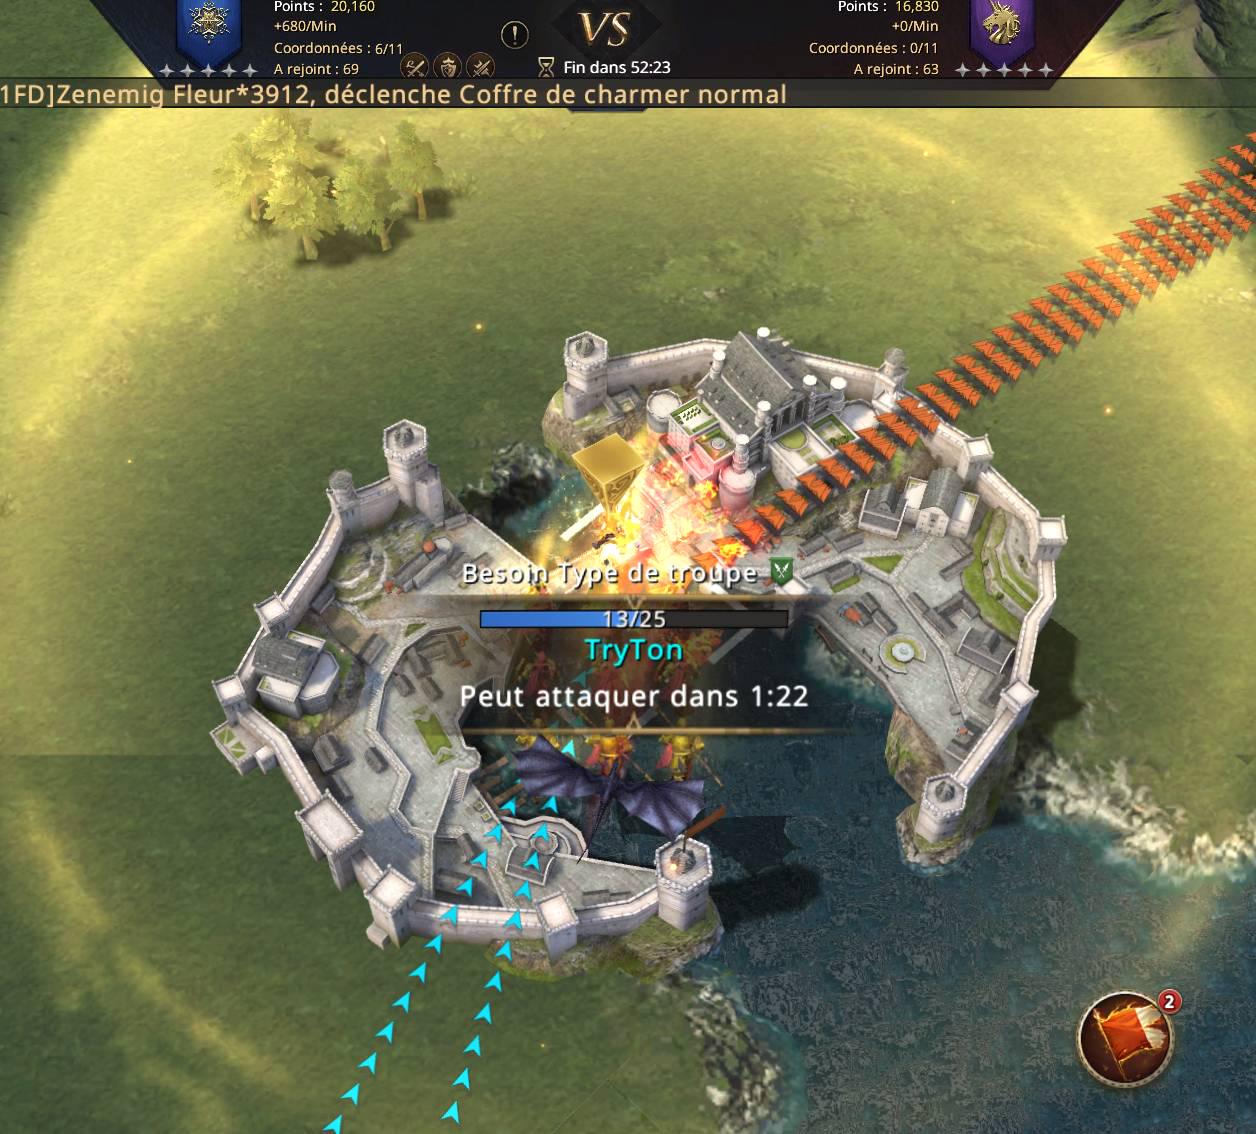
Garrisons to be reinforced at initial objectives
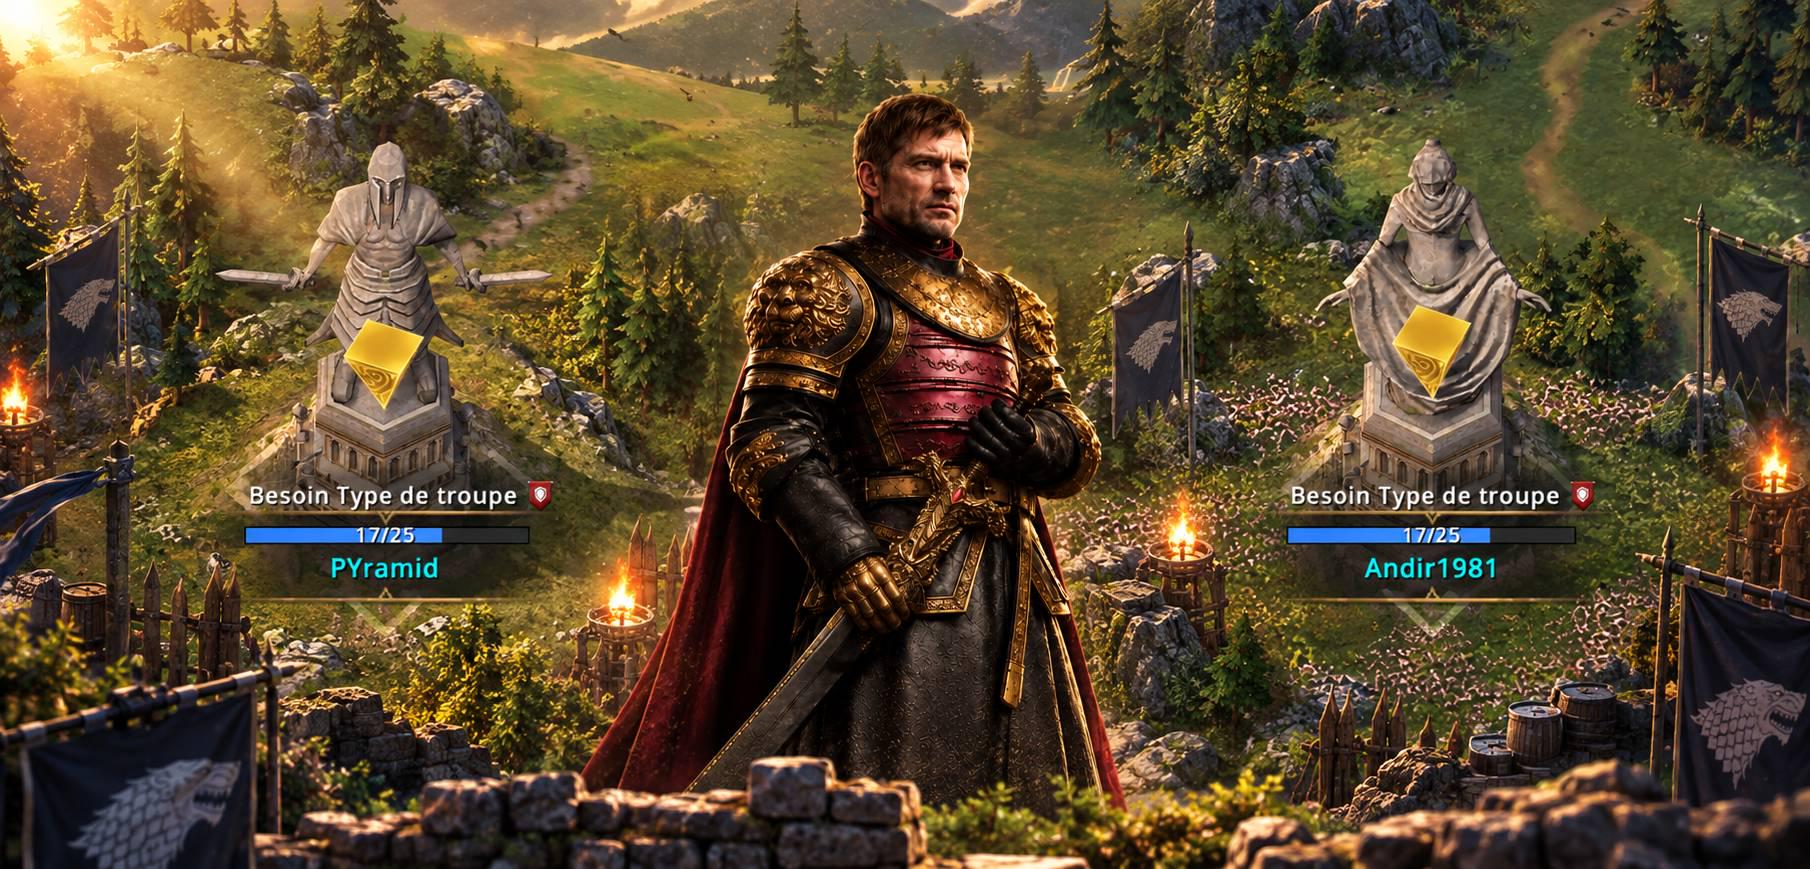
Since ports generate a portion of a player's units, the primary positions must always be occupied.
At the Warrior’s Tower, PYramid has 17/25 infantry units. At the Mother’s Temple, Andir1981 has 17/25 infantry units.
III. Casterly Rock
Casterly Rock marks the third stage of this Alliance Conquest.
RRH controls six buildings. The objective now is to capture Casterly Rock.
With 50 minutes and 52 seconds remaining, RRH holds 21,180 points compared to 1FD's 16,830; 1FD appears to have a generation rate of 680 points per minute, yet showed no displayed territorial income. Casterly Rock should soon become somewhat accessible.
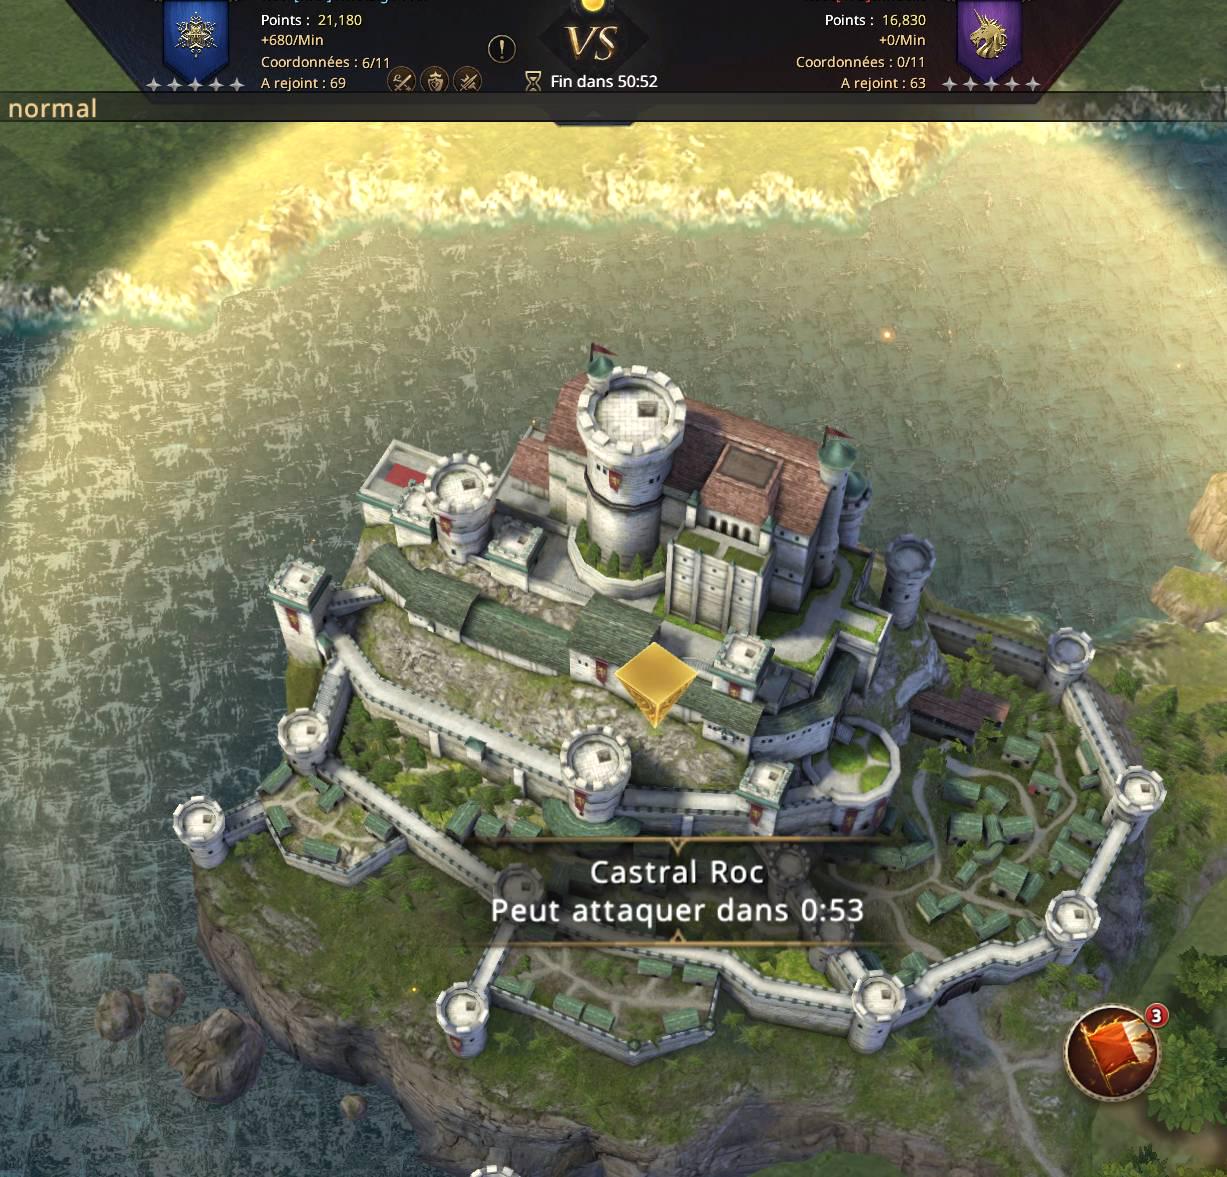
Movement intensifies around the building. Kany initiates a new advance. Units move toward Casterly Rock. Troops arrive from several directions, and combat animations multiply across the position.
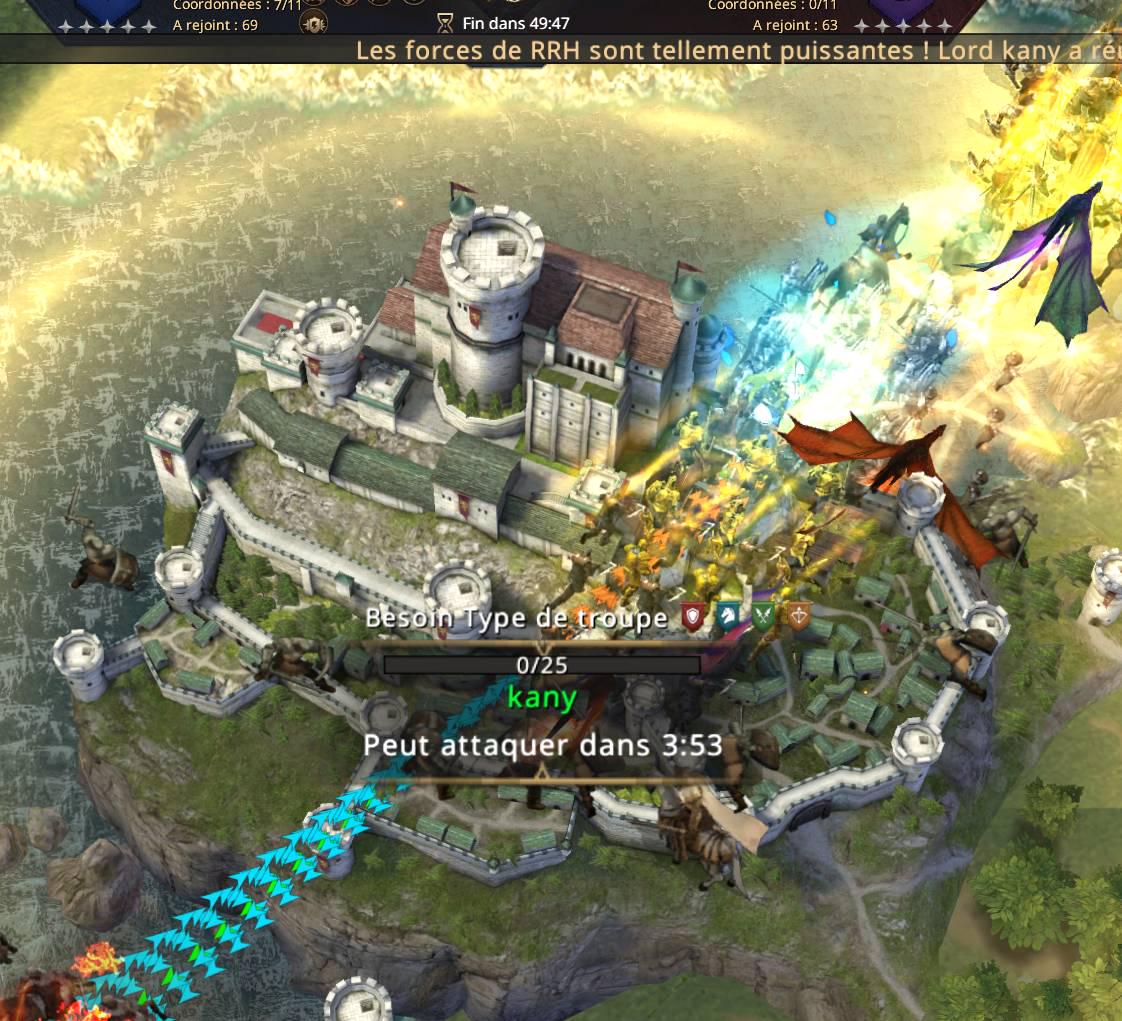
The action continues until RRH occupies the building.
With 49 minutes and 47 seconds remaining, the counter now shows seven buildings under control.
Shortly after, Kany swaps Castral Roc with Tora33, with a garrison of 23/25 infantry units.
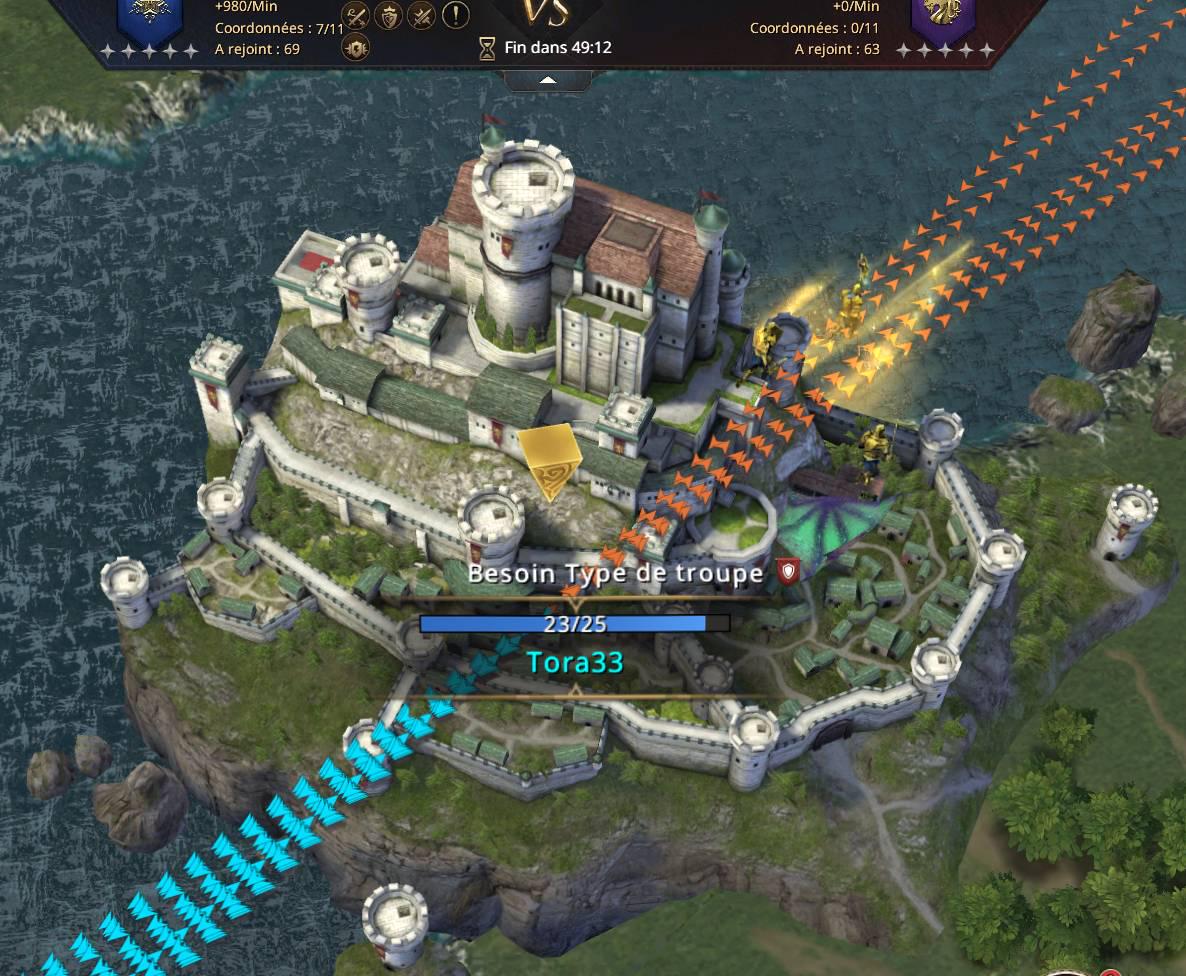
RRH has now reached a score an exceptionally high one of 980 points per minute. The gap continues to widen, with early objective captures favoring RRH, while the income from Castral Roc remains with 1FD, further strengthening their position. Eliminations are no longer enough; the team must now secure buildings to halt this accumulation of points. The match, however, is not over yet. There are still two bastions to be taken, followed by two mines.
IV. The Two Bastions
The fourth stage involves the Lannister Bastion and the Targaryen Bastion.
Following the capture of Casterly Rock, RRH must now occupy these two new structures while maintaining the initial seven positions.
Members are positioned across various sectors of the map. The existing garrisons must be robust enough to hold their ground; the new objectives do not require additional regiments.
The two bastions become accessible.
RRH advances and secures control of the two new structures, bringing their total tally to nine controlled buildings out of a target of eleven.
The score climbs further, and the alliance's income rises to the next level.

1FD remains in the match, but the situation in the standings is overwhelmingly in RRH’s favor.
WhatBigTeeth’s footprint now spanning nine buildings is colossal. Every passing minute only extends their lead further.
The players will now have one final opportunity to unlock new territory.
With only the two mines remaining, RRH is well-positioned to secure control over every objective in the match.
V. The Two Mines - RRH Completes the Conquest
The final unlock phase concerns the Lannister Mine and the Targaryen Mine. Following the previous capture, RRH now holds control over the first nine buildings.
The two mines are nearing their unlock point.
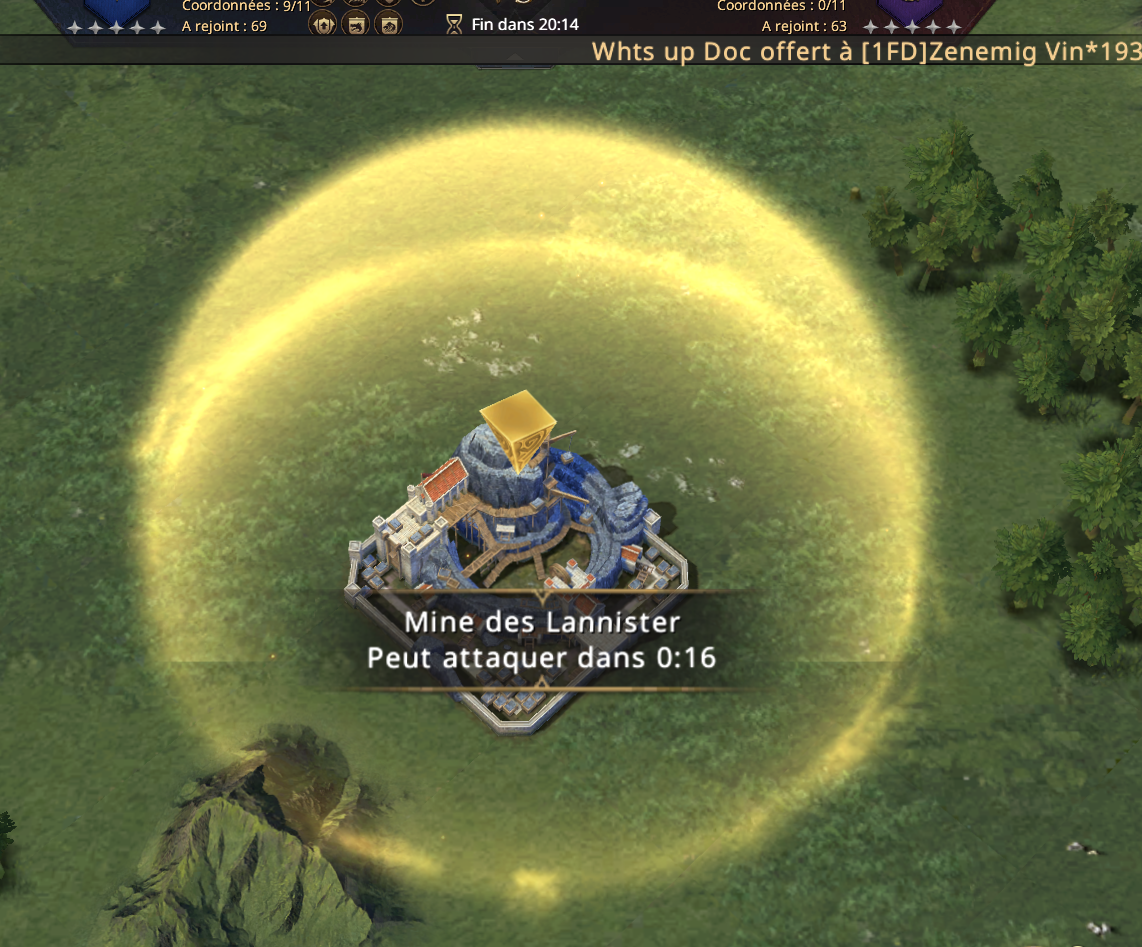
The troops are already in position with only seconds left on the countdown.
Now it is Kany’s turn.
A cavalry unit has been spotted at the Lannister mine.
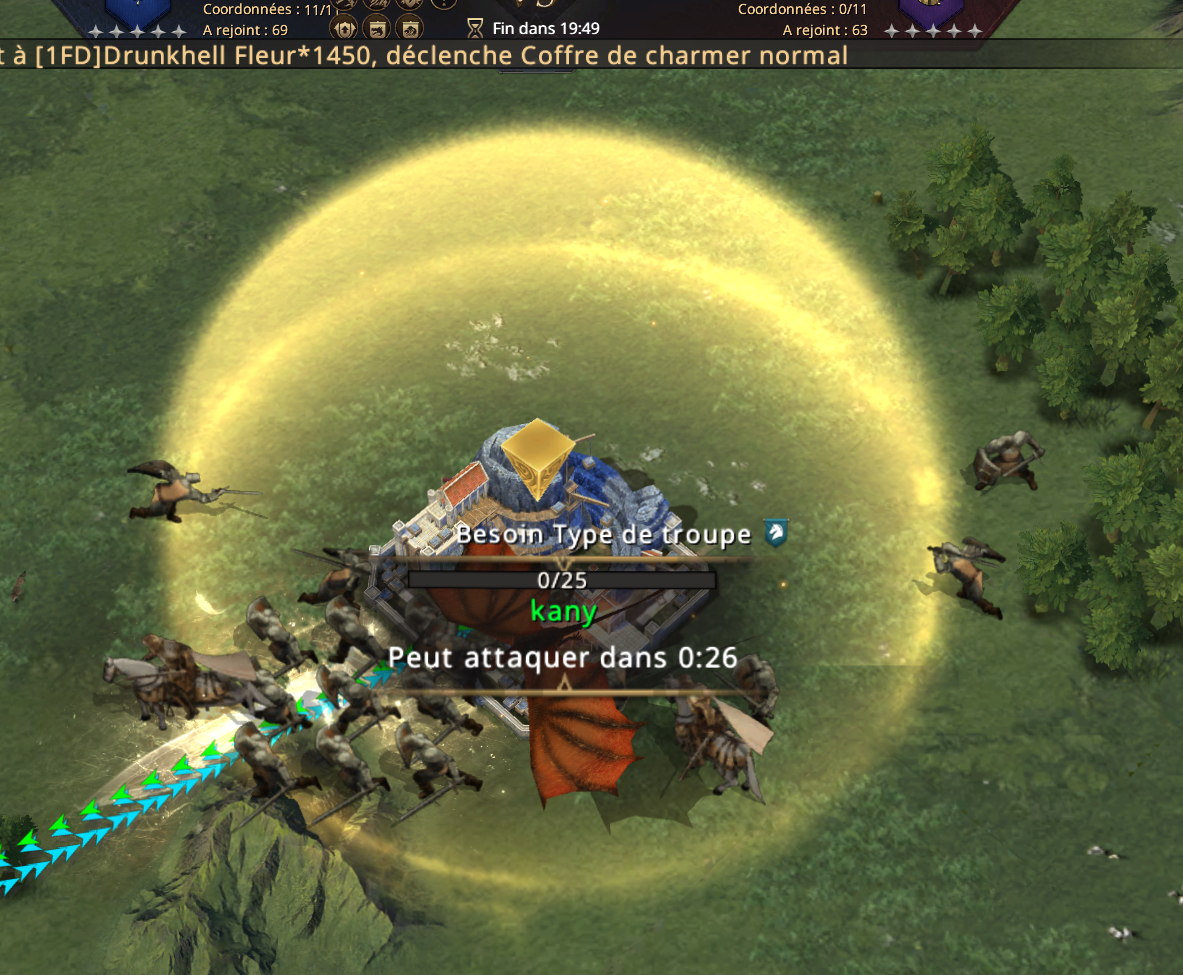
The image shows the start of a new rally, with the garrison still empty at the time of observation. Reinforcements need to join the attack to give the formation within the RRH the best possible chance of success. At the same time, however, the Targaryen Mine remains the last objective standing. The RRH continue to hold it, and the result is visible on the counter at the top.
Eleven out of eleven buildings!
At this stage of the match, the RRH team has secured all the objectives.
RRH players successfully cleared the first five opening waves; judging by the results known to 1FD, the outlook is not particularly favorable for them.
The match has not yet officially ended, but the gains accumulated and the lead on the scoreboard put RRH in a strong position.
The final minutes are being played out with a significant advantage for the RRH side.
VI. Eliminations
The results regarding the buildings are far from reflecting the full picture of the match. Despite the first-place finish in the overall standings, individual results reveal that the 1fd players were also heavily engaged during the confrontation! The results of the two alliances can therefore now be added to the standings derived from this match.
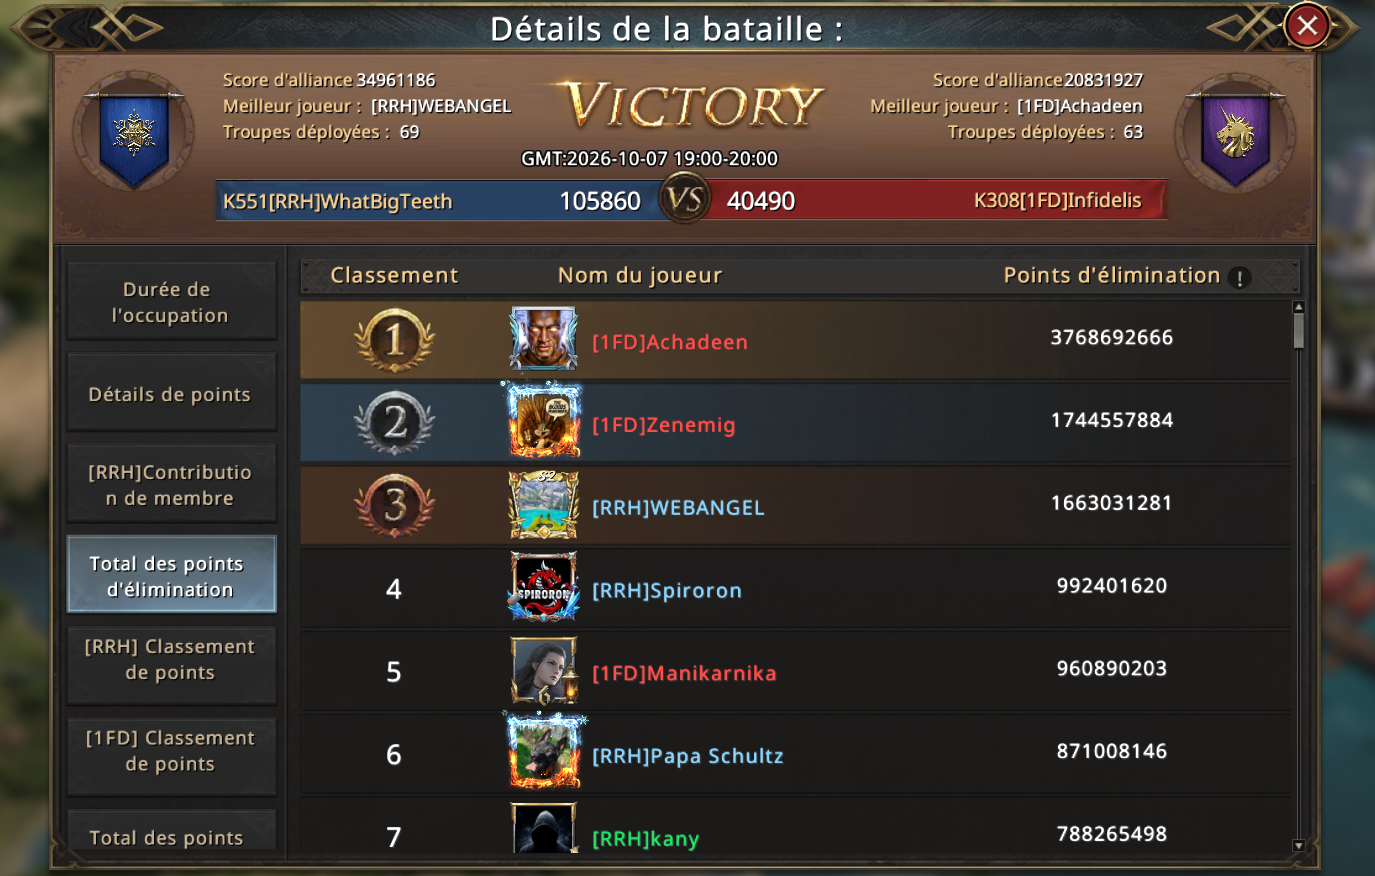
In the RRH rankings, WEBANGEL took the top spot with 1,663,031,281 points. Spiroron came in 2nd, followed by Papa Schultz, with Kany in 4th place, then DragonHeartx, Lady Eo, and finally Raimund.
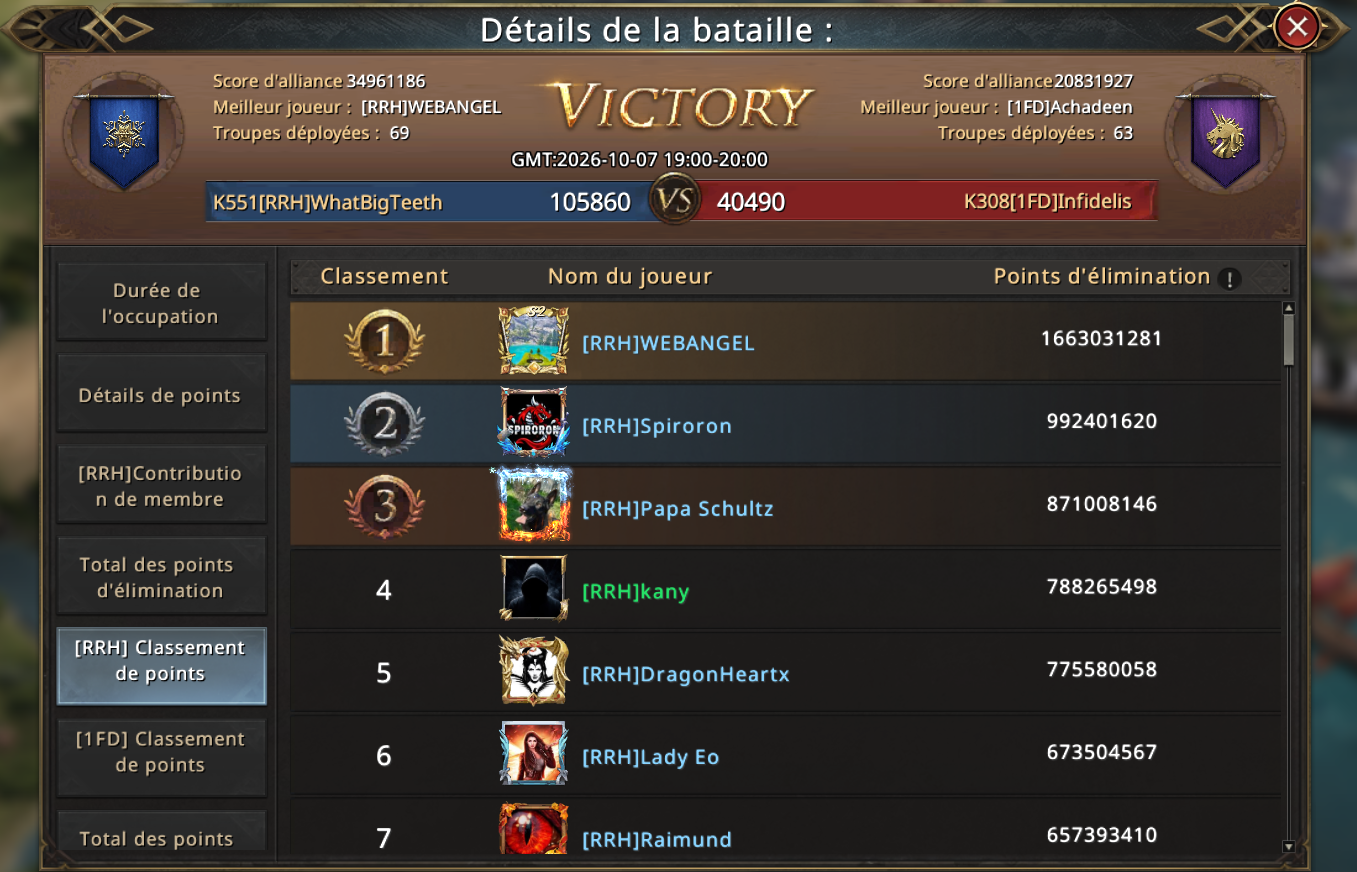
At 1FD, one player stands head and shoulders above the rest.
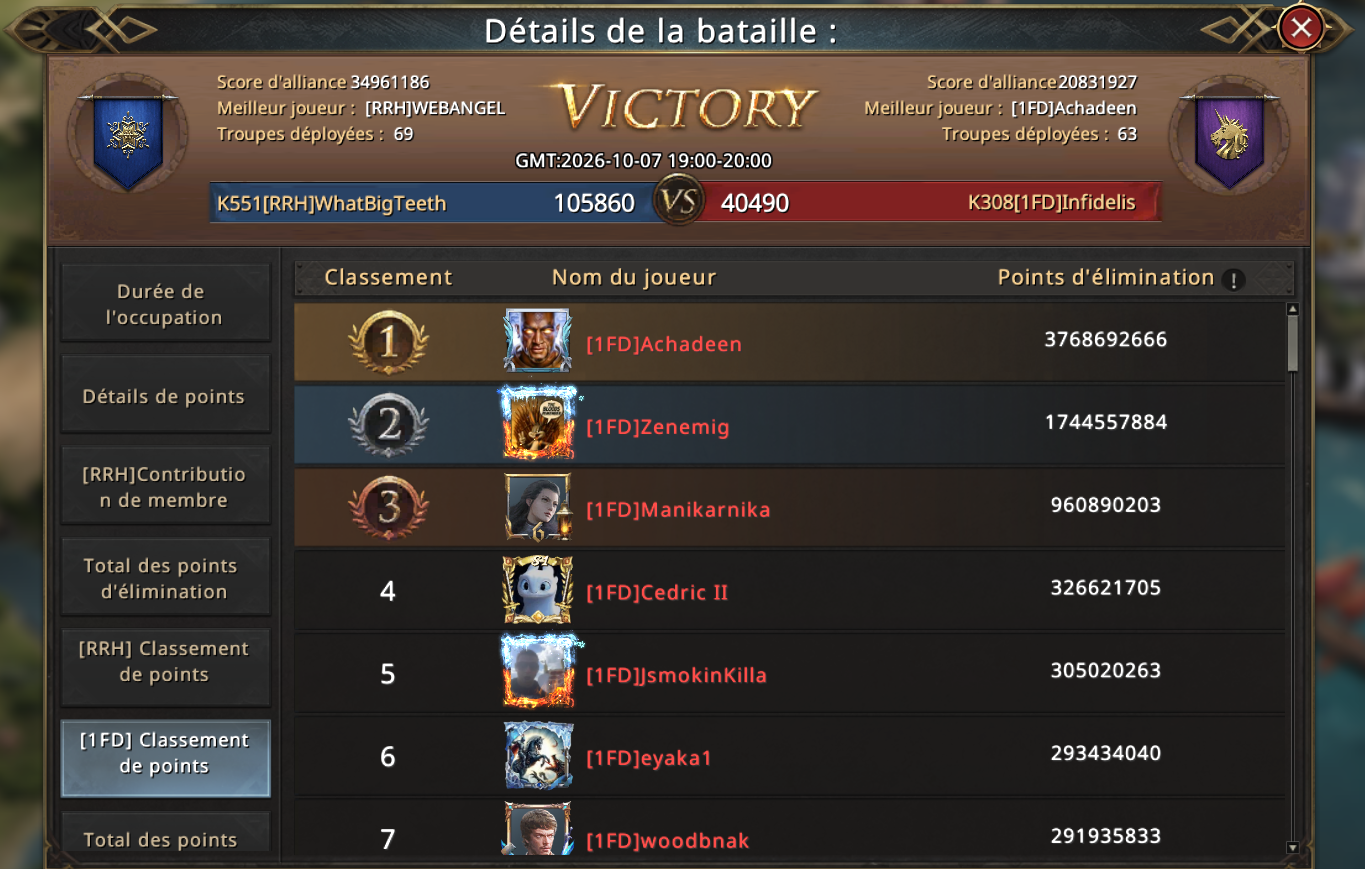
With a tally of 3,768,692,666 kills, Achadeen achieved the highest individual score in the clash between the two alliances. Zenemig took second place with 1,744,557,884, followed by Manikarnika, Cedric II, smokinKilla, eyaka1, and woodbnak. While 1FD eliminated a vast number of troops, they trailed their opponent in the overall situation. The disparity in activity between the two alliances is unmistakable: although 1FD posted impressive individual scores, RRH managed to dominate in terms of building acquisition and the overall rankings.
Conclusion - A Controlled Conquest
This encounter highlighted the critical importance of coordination in Alliance Conquest. RRH quickly established itself in the top positions, consolidated its forces, and successfully held its structures as new objectives opened up.
Actions taken by members spread across various buildings made for an advance that was both unconventional and effective. While 1FD managed to rack up a significant number of kills, it failed to translate that military performance into control over sufficient territory.
Ultimately, WhatBigTeeth secured a victory built primarily on objective control and collective teamwork among its members.
END

Translate

Popular Posts
1

Timing or luck? (Invasion)
26 discussions 57 views
2
~ x Kate x vs TheTreeMan - The Crown at the End of the Second Assault | Kingdom 179 ~
20 discussions 59 views
3
N0X UC (S24 M3): Strategy vs. Raw Power
44 discussions 85 views