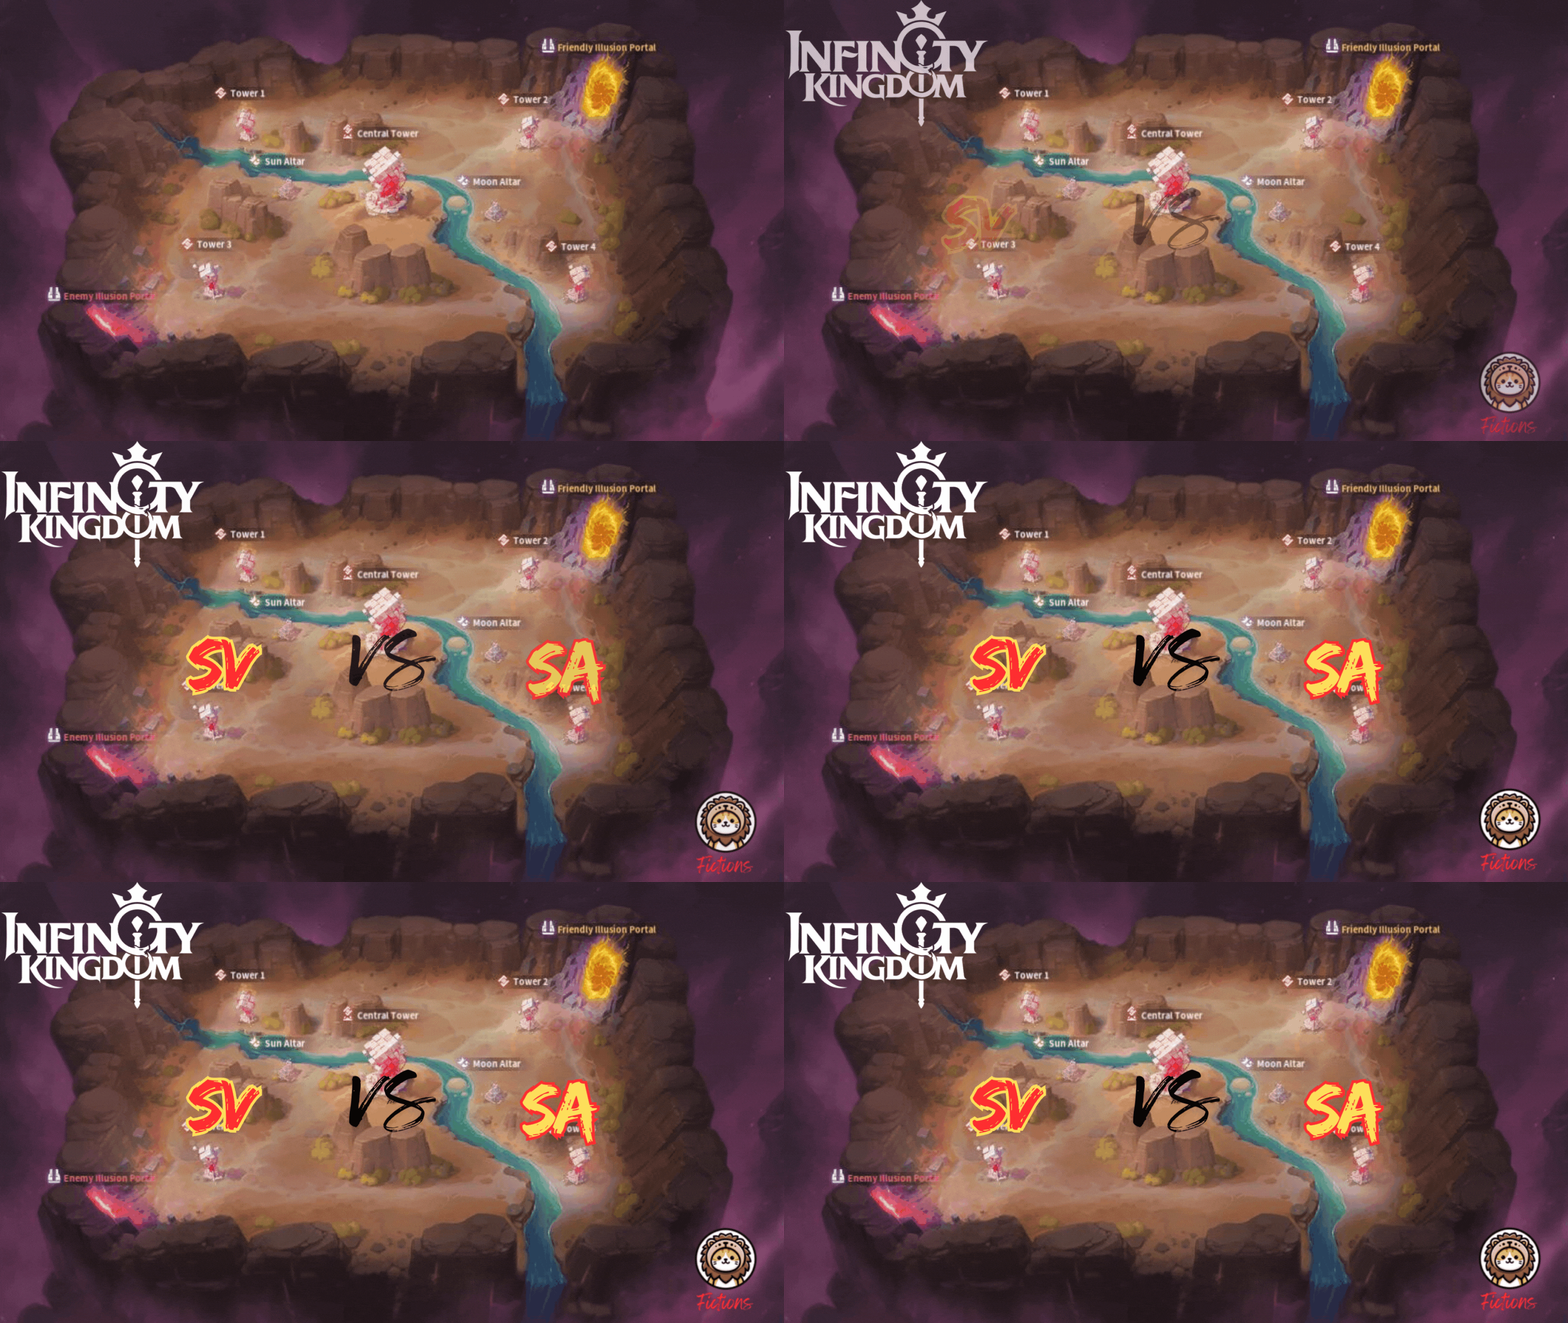
💠Introduction
What’s up, folks? Welcome back to my Illusion Battlefield League(IBL) series, where I take a closer look at different matches. The IBL tournament differs from regular IB in that everyone will construct marches and skill builds using a fixed set of skills. At different stages of the tournament, more immortals and skills will become available. Everyone has access to the same immortals and the same skills. Castle skins and Lord Talents do not affect the more fast-paced battles of IBL. Relocations and marching speed are also faster. The event is one of the most entertaining events in Infinity Kingdom, and players enjoy spectating, almost like a sporting event. In this article, I’m going to take a closer look at the Week Six Point Phase match between Server 275’s Spear of the Abyss(SA) and Server 340’s Light and Darkness(SV). SA’s positions in this match will be denoted in green while SV’s will be in red.
💠Table of Contents
- Overview
- Starting Positions and Talents
- SV
- SA
- Tower 1
- Tower 4
- Central Tower
- Altars
- Home Towers
- Play-by-Play
- Summary
💠Overview
While both are relatively young servers, SA is far more experienced. They ranked 54 in last season’s tournament while SV was still getting established. SA typically fields around 20 players every week and SV usually has 30 players signed up. SA sits at 4-1 going into this match with their only loss coming from SV in the first match of the season, losing with 23,400 points to SV’s 100,000, before starting a four-game win streak. SV has the opposite trajectory. They won their first four games and lost their fifth one to have a 4-1 record going into this match as well. Since SV already beat SA once before and has more players on a weekly basis, SV has the upper hand.
💠Starting Positions and Talents
SV
- Started with 14 players and ended with 31
- 8 Attack talents
- 4 Defense talents
- 2 Support talents
SA
- Started with 13 players and ended with 16
- 11 Attack talents
- 2 Defense talents
- 0 Support talents
💠Tower 1
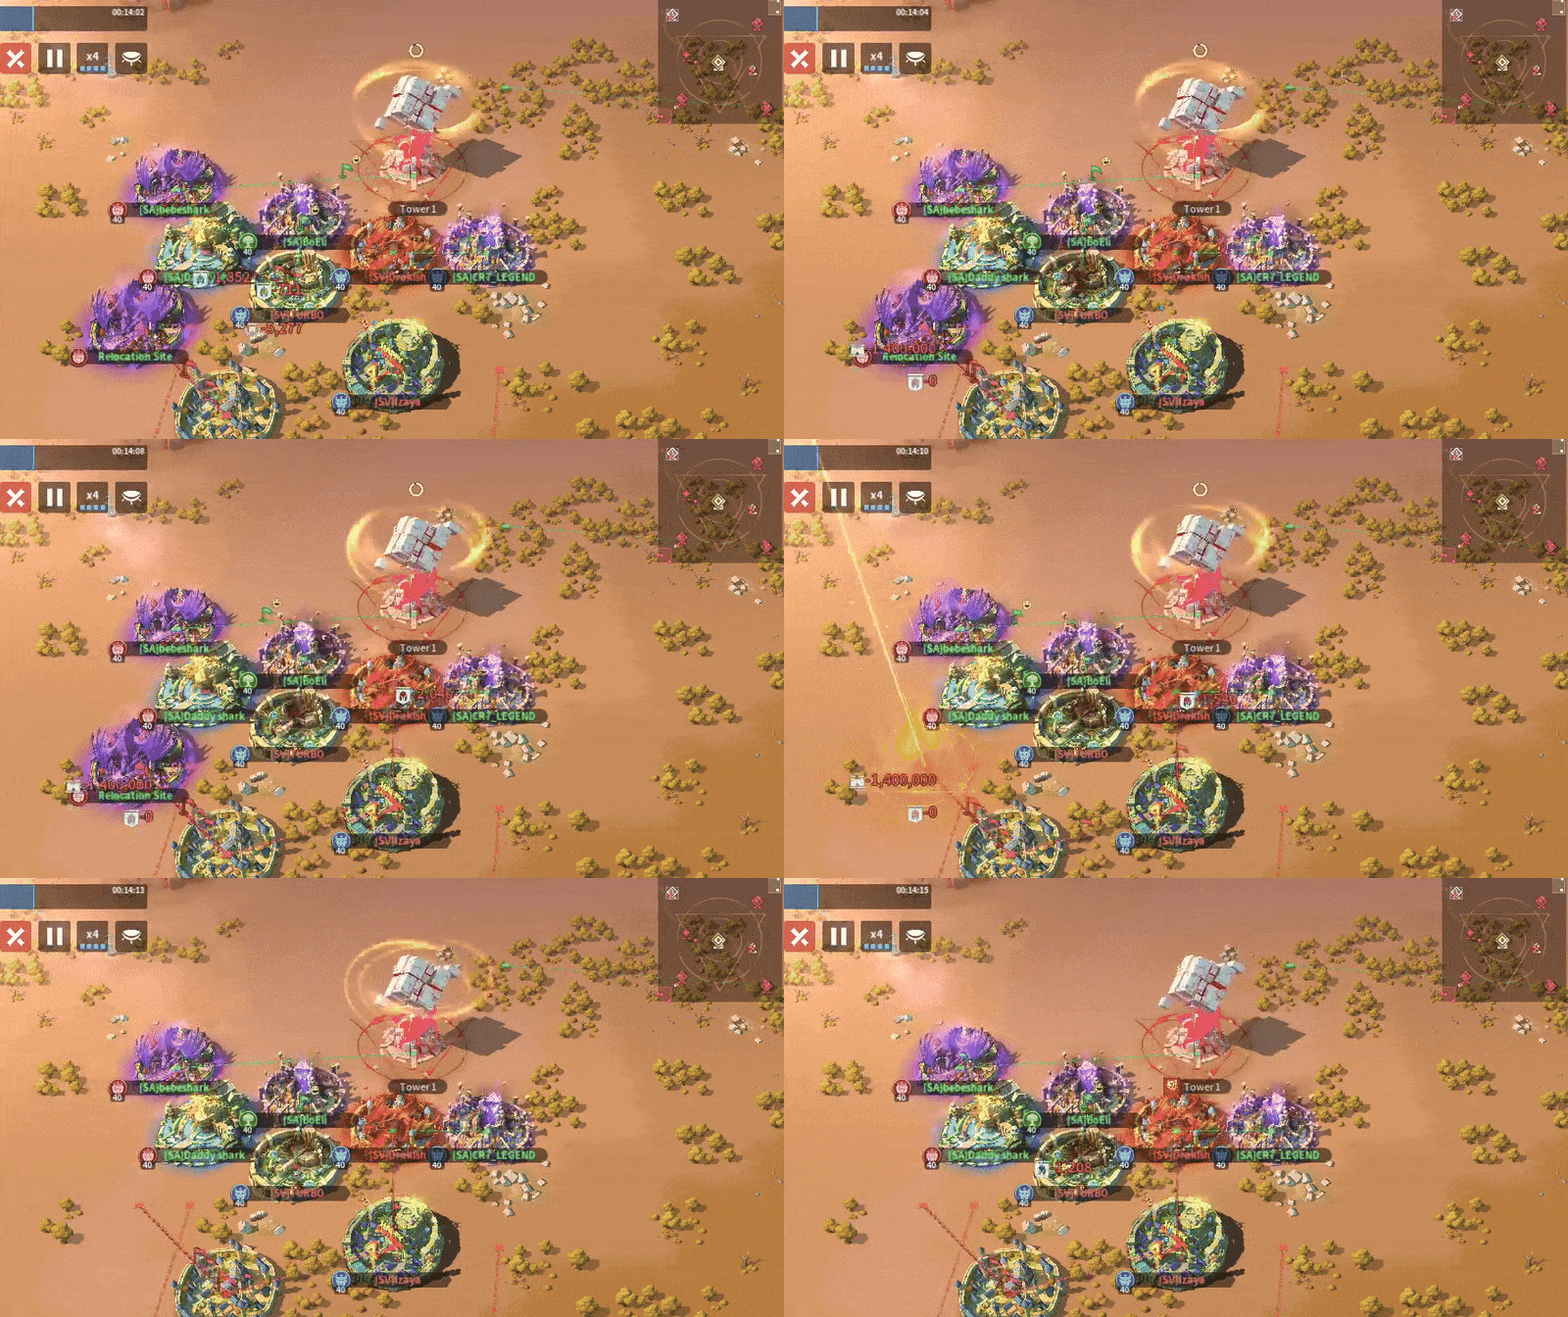
Both teams sent four players to Tower 1. SV is positioned around three sides of the tower. SA had two players relocate further back and one player relocated to block one of SV’s members who was extremely late on his relocation. SA should have positioned on the top side of the tower and not conceded so much space to SV. Both teams need to work on relocating as soon as the timer starts and not a second later. They could also benefit from using markers to denote the positions around the tower of the closest players. SA should have the upper hand with more players and SV not being close to each other to garrison or rally.
💠Tower 4
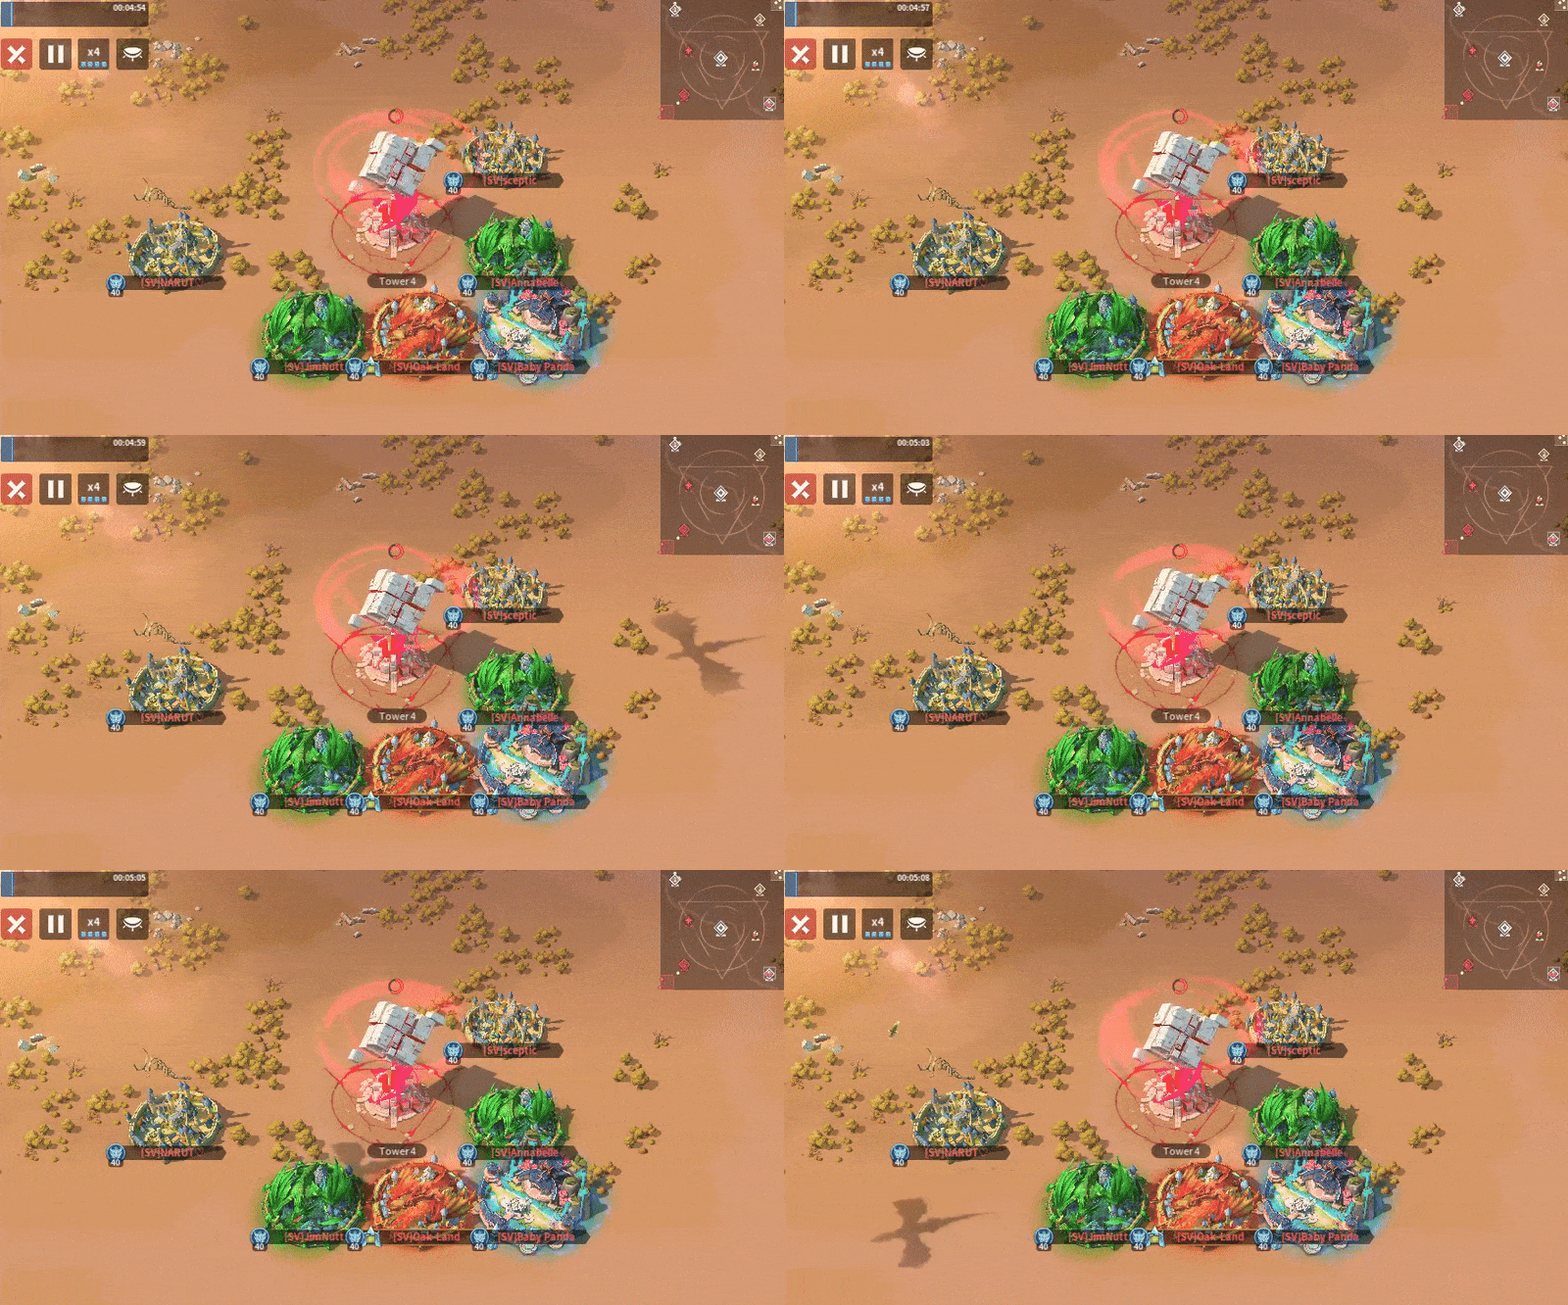
SA sent only two players to Tower 4 while SV overloaded with five. SA had several members who had edge spawns who could have relocated to block some SV relocations. It would have given them a better advantage, but one player didn’t move and another went to the Central Tower. If they were only planning on sending two players there, SA should have given it up entirely and reinforced Tower 1 or the Central Tower.
💠Central Tower
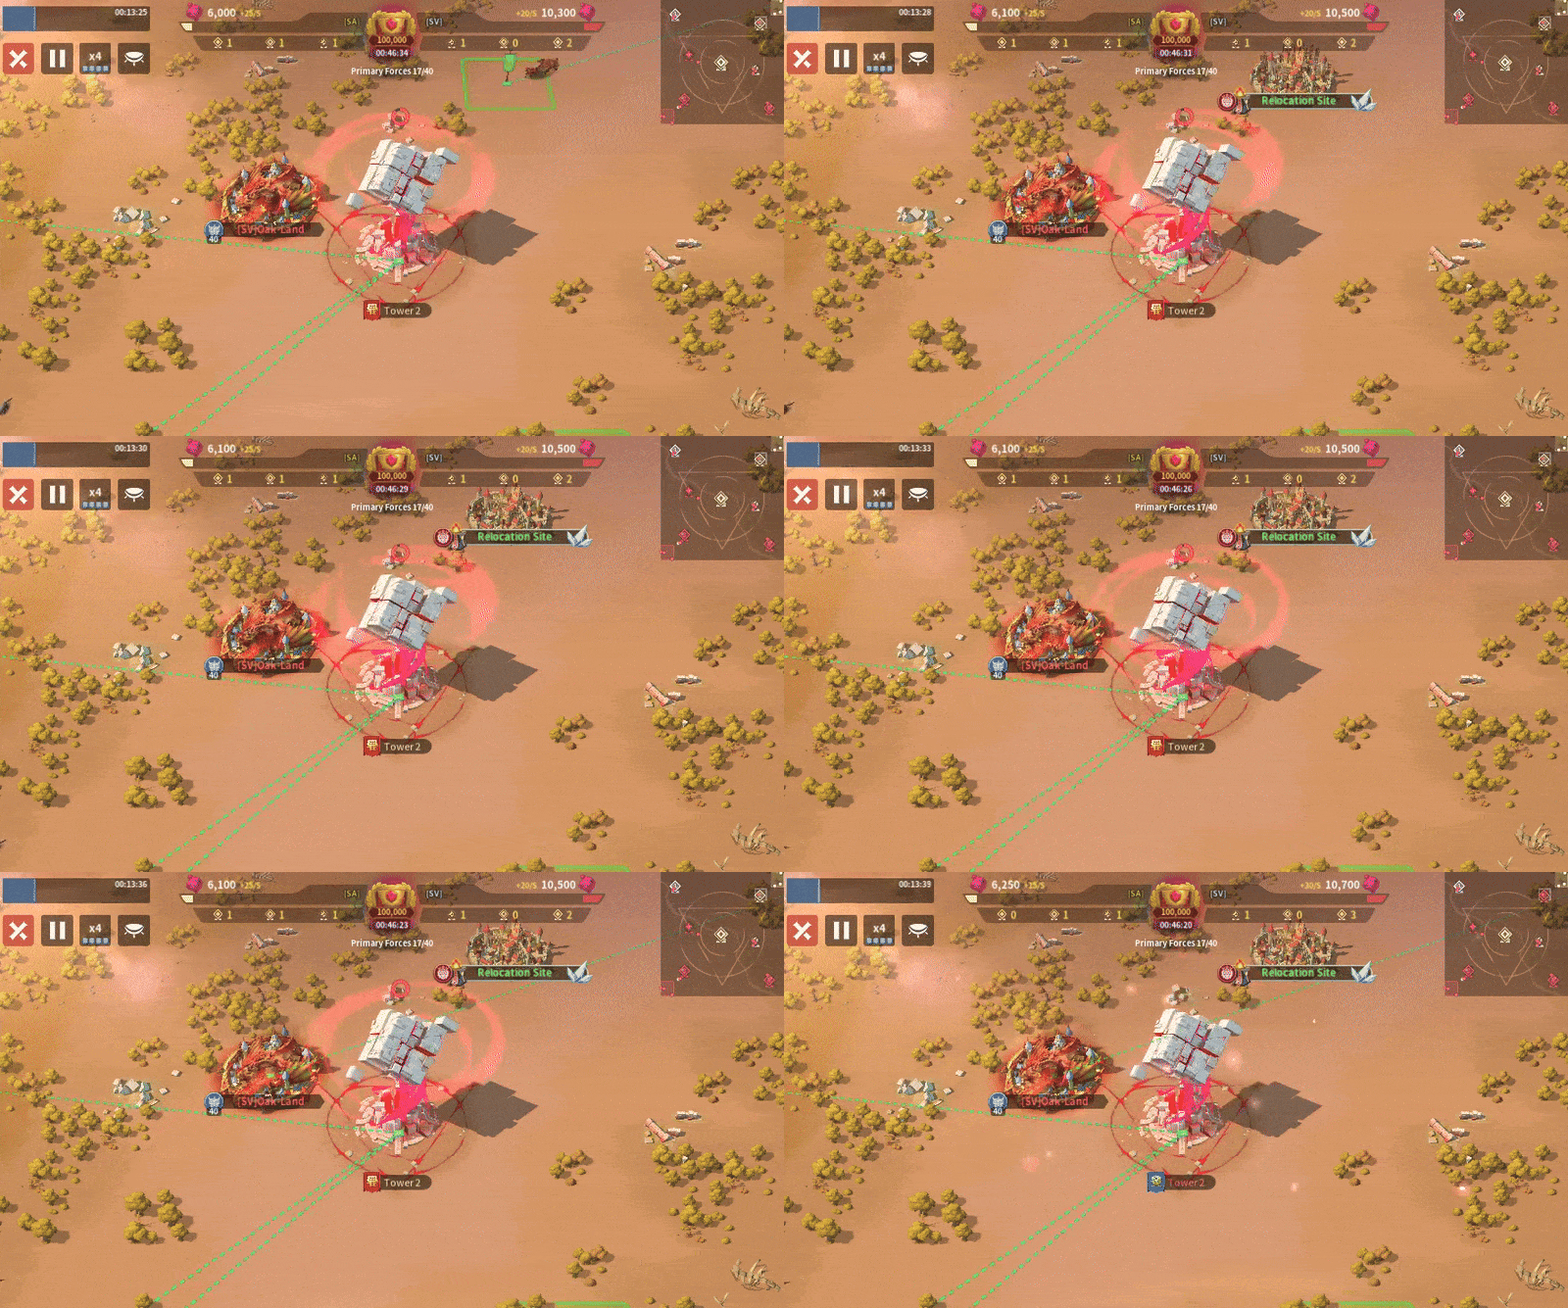
SA sent three players to the Central Tower and SV decided to give it up. Usually, when teams have so few players who enter the battlefield on time, they should concede one of the towers to overwhelm the other two.
💠Altars
SA sent one player to the Moon Altar and SV sent one to both altars.
💠Home Towers
SA stationed one guard at their home tower while SV had three at theirs.
💠Play-by-Play
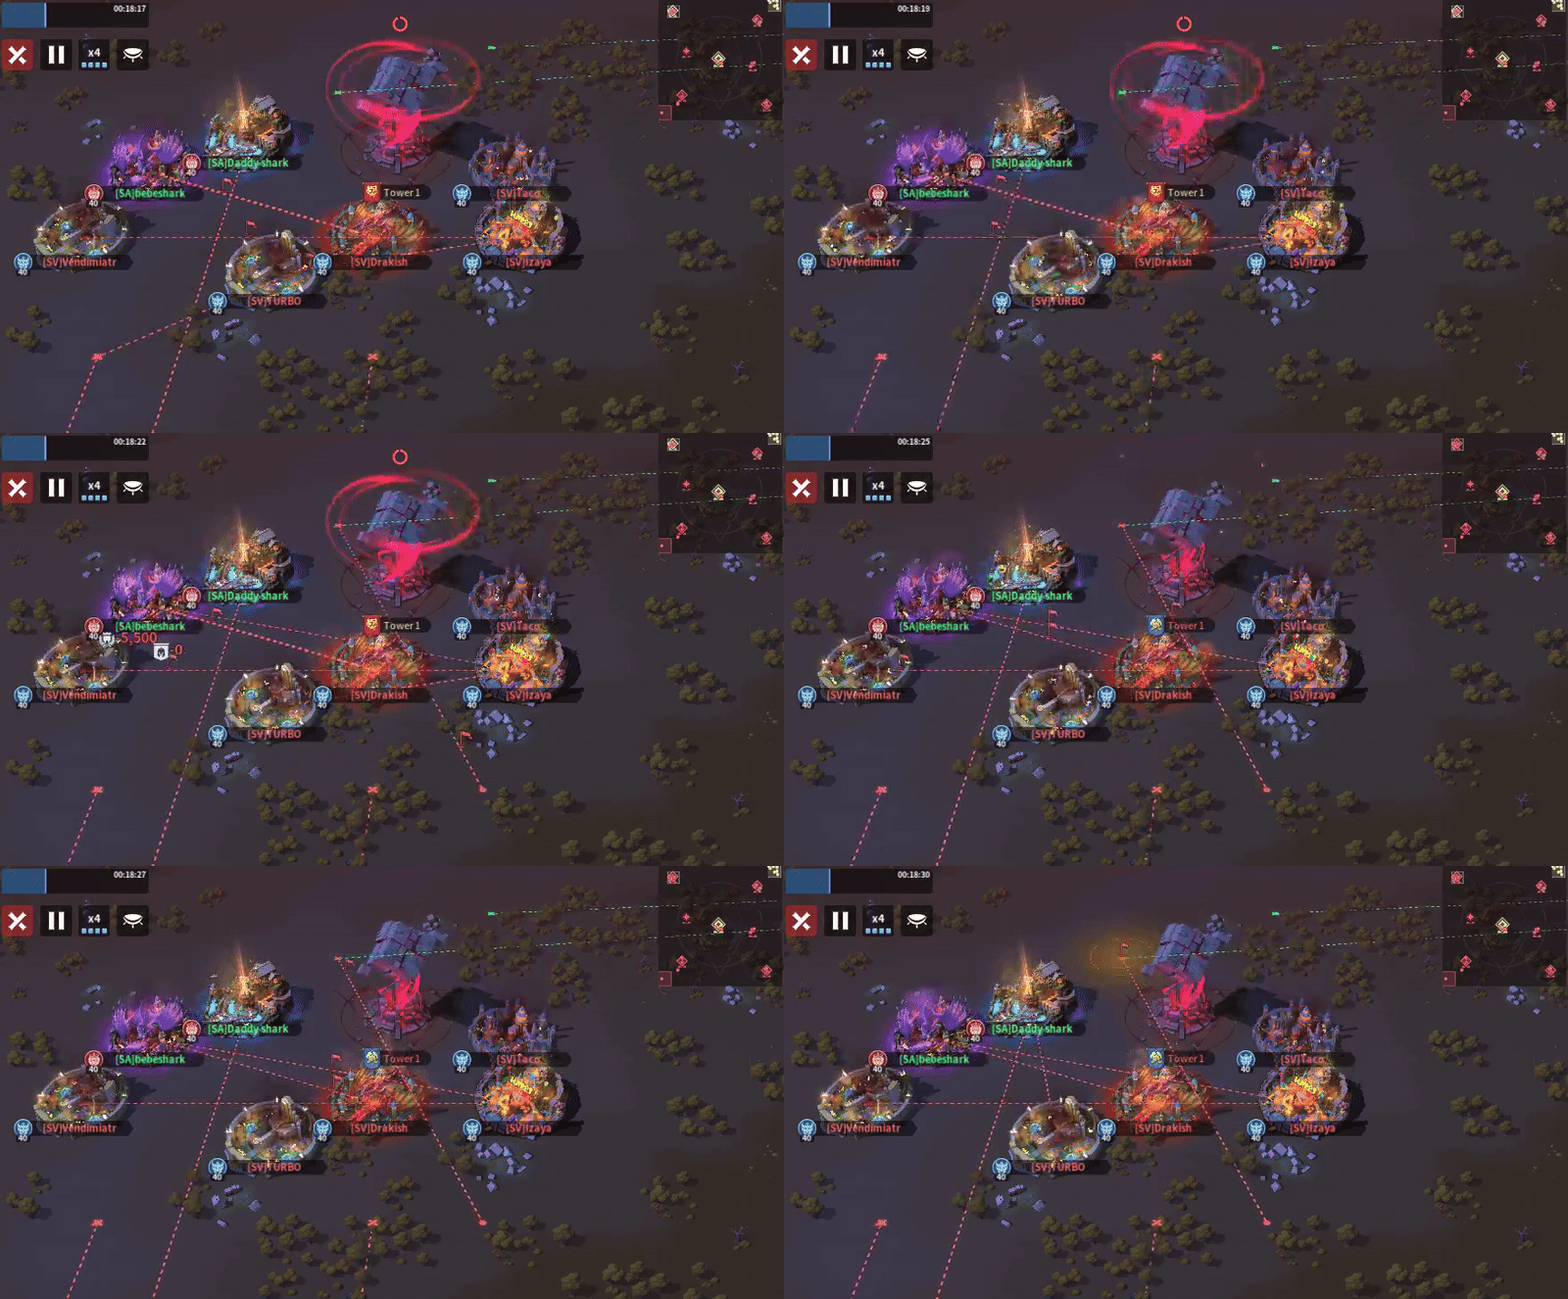
At Tower 1, SA blocked one relocation. They started sending marches to the tower and solo attacked their closest target. Instead of focusing on the tower, SA should have rallied the enemy they were surrounding before worrying about the tower. As soon as they zero him, they can work on the next one until they can relocate closer to the tower. With SV so spread out, any type of rally with a first march would have broken through their lone defense. The only thing they would have needed to do was prevent SV from taking the tower. SV could have done the same as well. The tide of the battle turned when SA relocated next to SV on the west side of the tower and SA didn’t break their relocations. SV slowly lost the battle of attrition as more SA players relocated to the tower. They forced SV to move southward and created a wall between them and the tower. SA successfully captured the tower at the 14-minute mark, but SV still had five players in the vicinity and was sending more reinforcements.
At Tower 4, SV blocked one relocation which meant it was a five versus one. SV effortlessly zeroed the enemy a minute later and captured the tower. SA wasted the time of two players when they could have sent them to Tower 1 in the opening minutes.
In the center, SA captured the tower at the 13-minute mark unopposed as SV was more focused on the outer towers.
Seven minutes into the match, SV started moving players from their spawn and Tower 4 to the Moon Altar where two of SA members were guarding. It ended up taking SV five players and seven minutes to zero the opposition. Instead of wasting time on an inconsequential objective, they should have attacked Tower 1 or Tower 2 where one of their players snuck in at the 8-minute mark. The two SA guards who were defending their home tower left their post as soon as SV showed up. By the time SA saw something was amiss, SV had already captured the tower, giving them their third tower of the match and their win condition.
Those at the Moon Altar needed to move to Tower 2 as soon as they could to provide backup or move to Tower 1 since SA would surely send multiple players back to retake their stolen tower. Instead, they went to the Central Tower and mounted an attack. SA swarmed their home tower from every direction and it took them a while, but they eventually recaptured it at the 20-minute mark. SV built up a small 8,000-point lead.
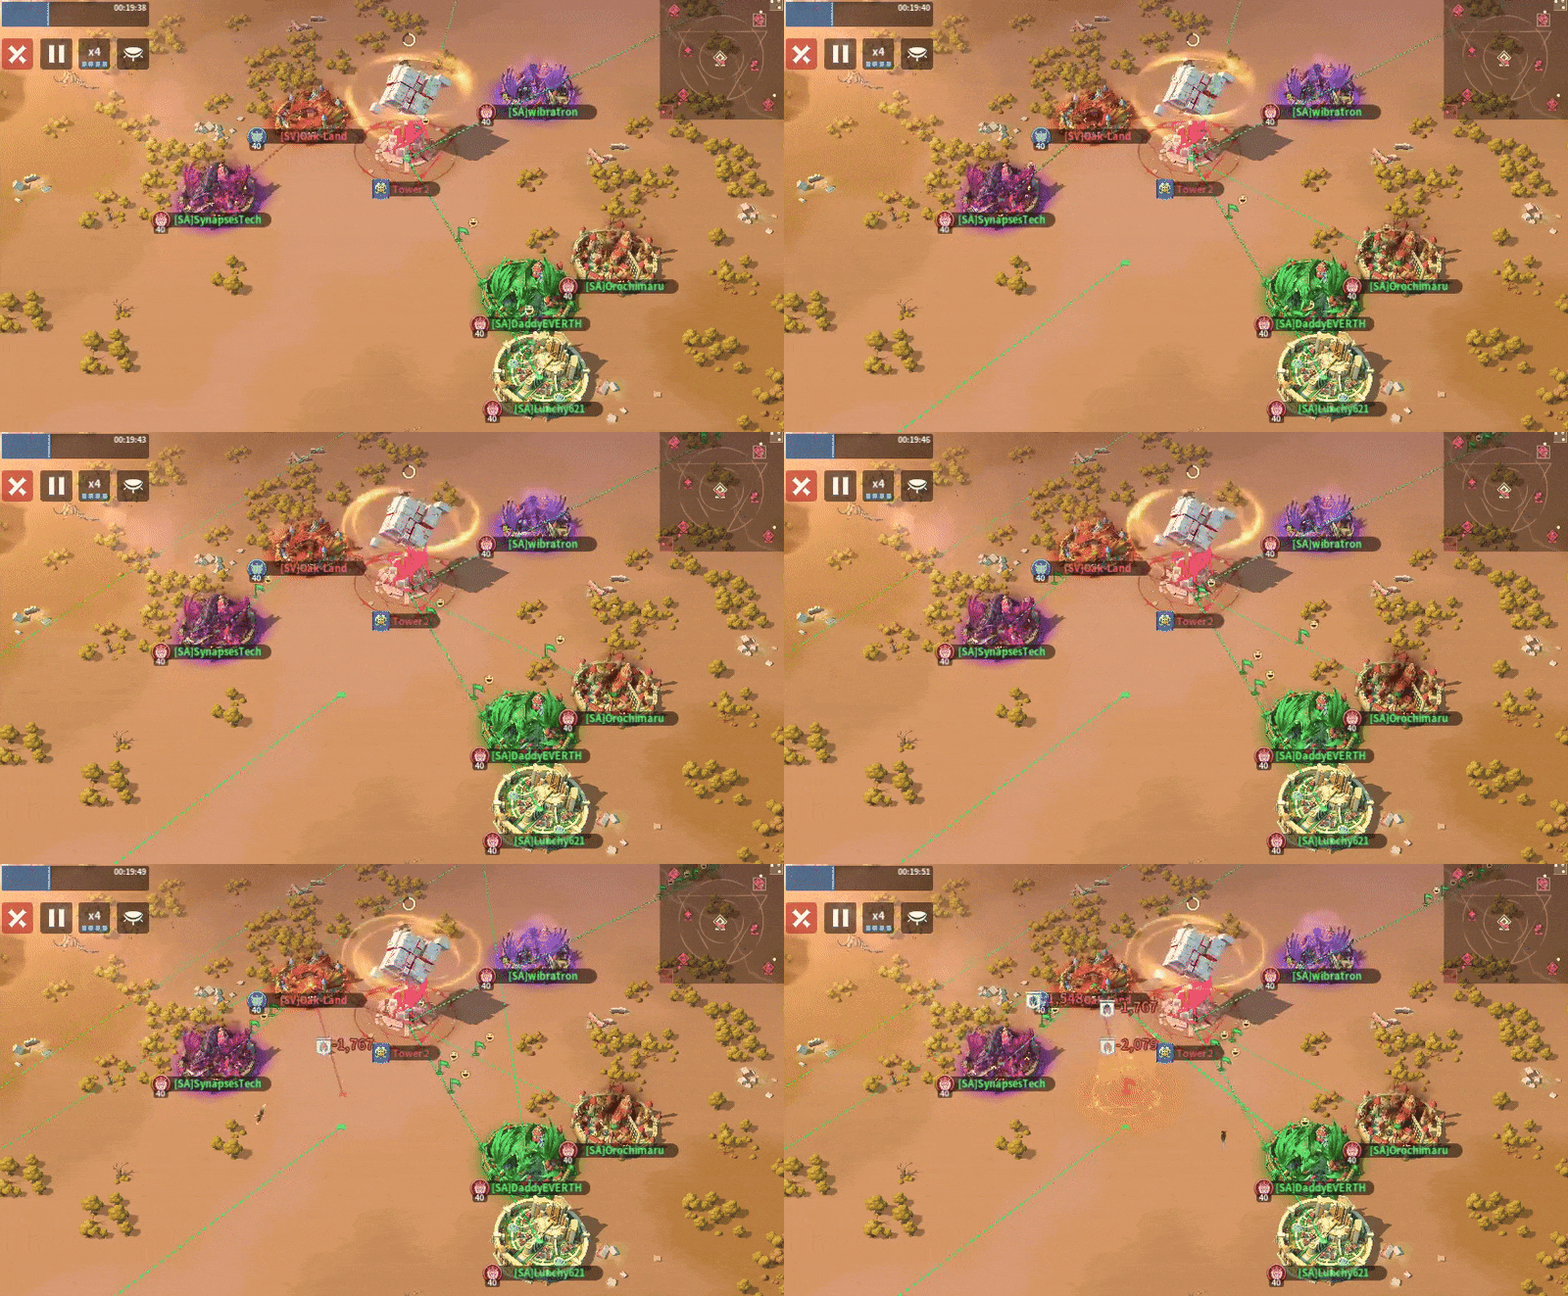
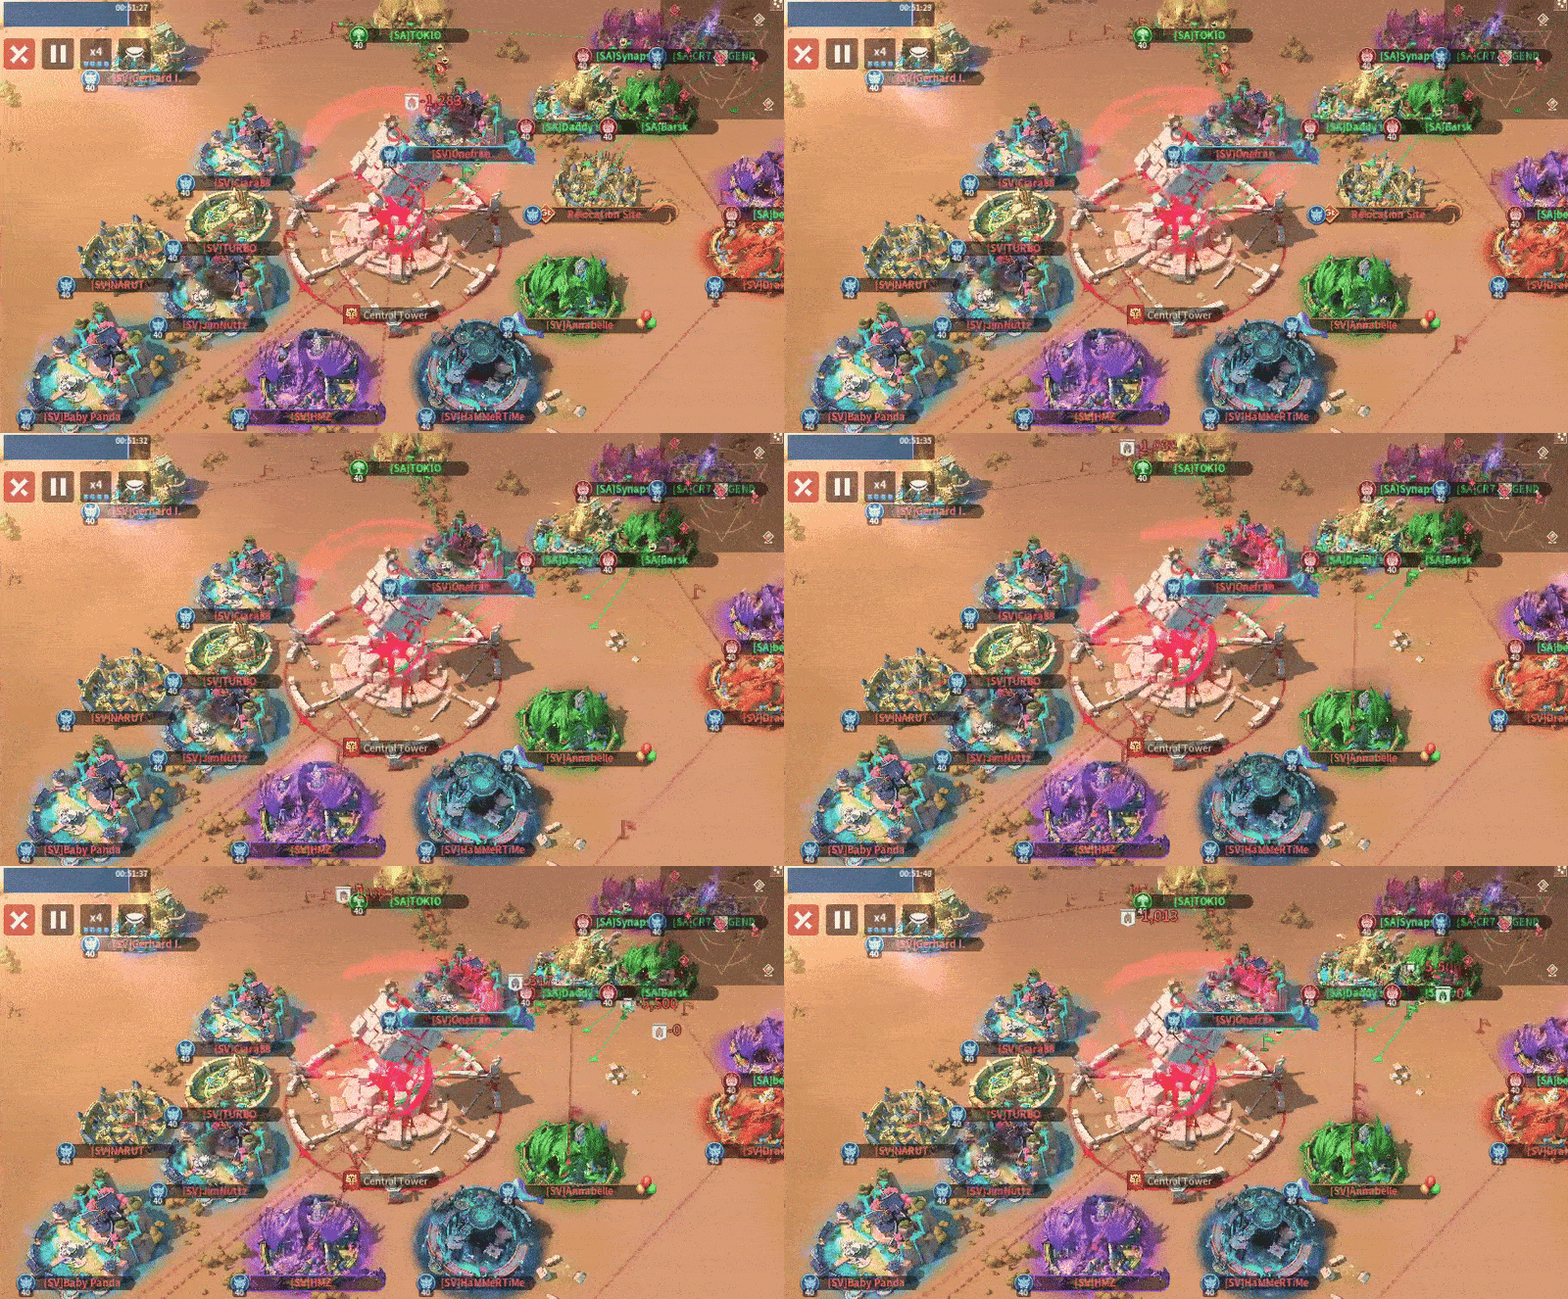
Unfortunately, SV got greedy. At the 20-minute mark, they sent players from everywhere to the south side of the Central Tower where only two members of SA reside. This means they’re weakening their defenses on the other three towers, an exact scenario SA needed to get back into the game. All they had to do was repel the siege in the middle and move or teleport to another tower that was weak. Because SV would need more players than SA to steal a tower, SV’s numbers advantage across the board didn’t mean as much. Immediately, SA moved half of their team to the Central Tower and put up a masterful defense for the rest of the match. SV had multiple opportunities to steal the Central Tower and put the nail in the coffin. They controlled much of the west side of the tower and very few SA players were remotely even close to the tower. Unfortunately, the only two SA players who took support talents were nowhere to be seen. One was at the Sun Altar and the other was between the Sun Altar and Tower 1. SA stopped SV’s siege every time they tried.
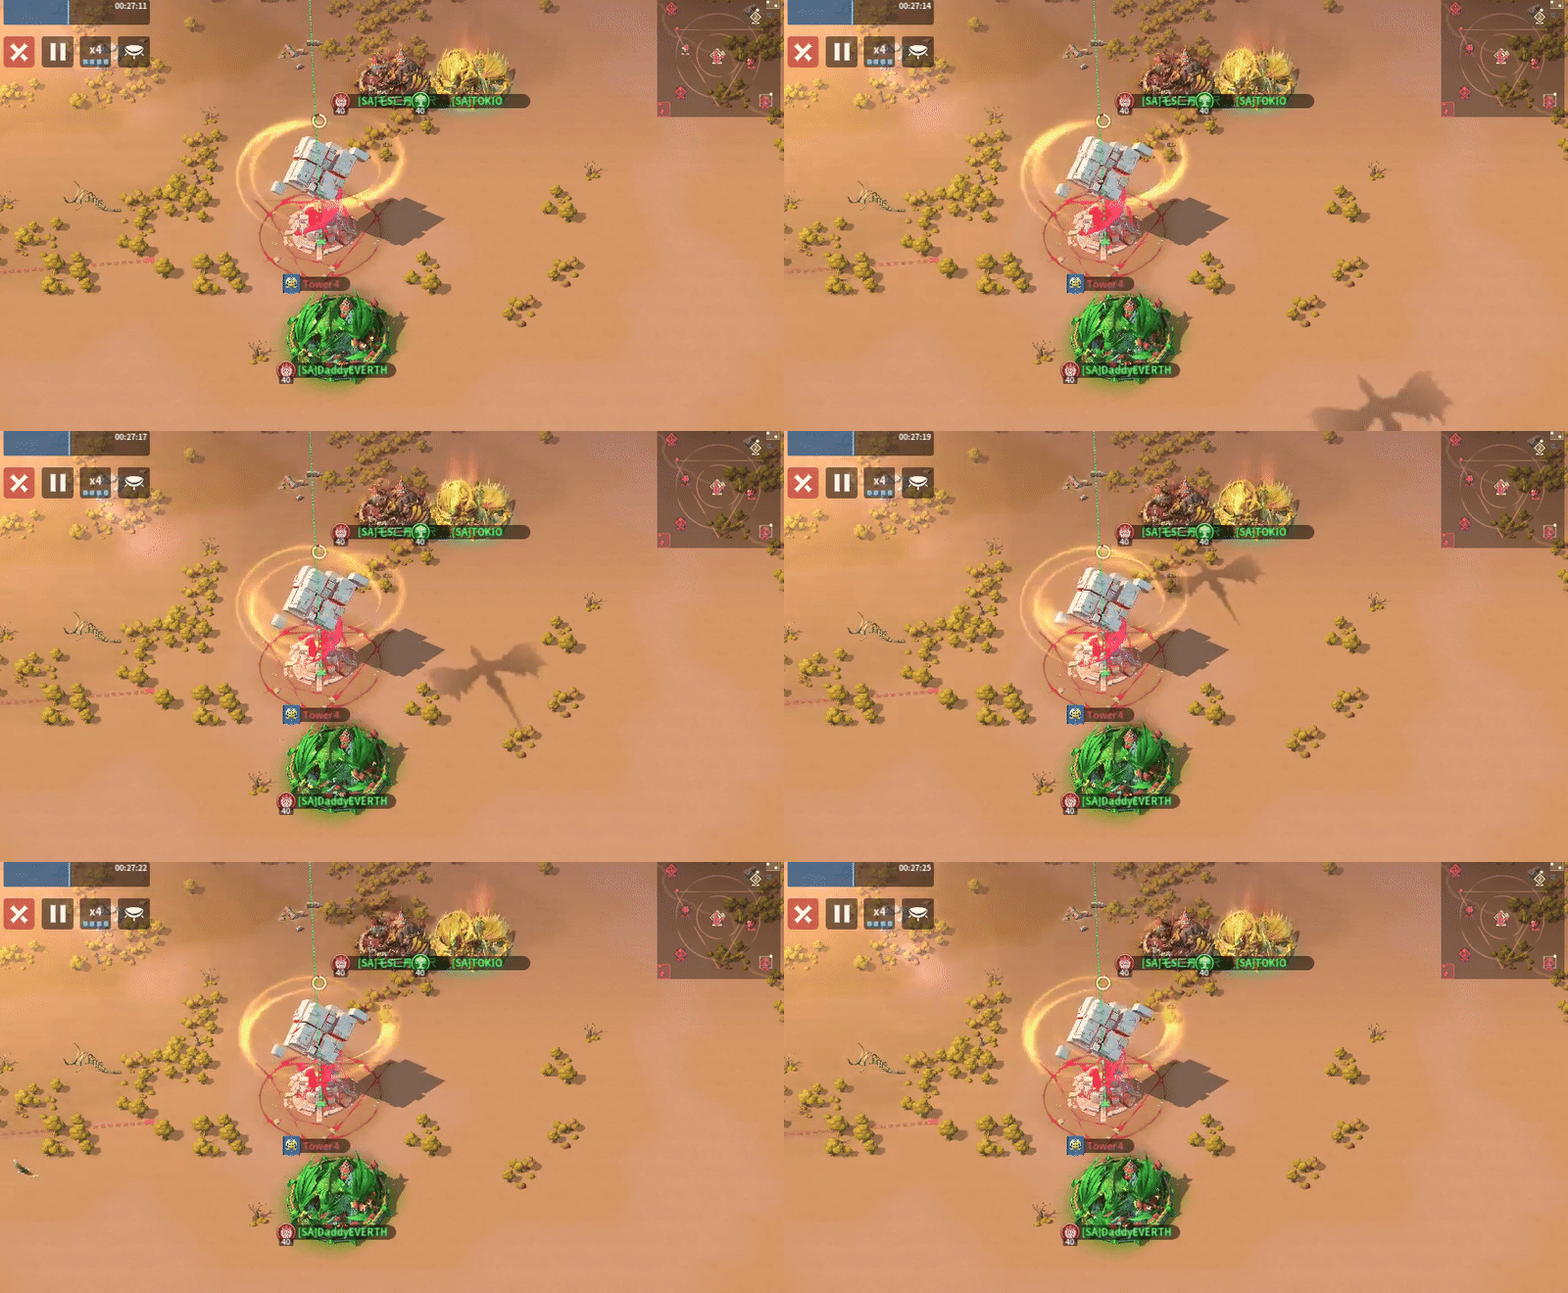
As a result of their invasion in the center, SV left Tower 4 with only two guards. At the 25-minute mark, SA saw an opportunity to relocate three players there to steal the tower. SV could have destroyed or blocked their relocations, but they failed to, despite moving next to it. SA zeroed one guard who forgot to garrison themselves and the other followed after losing solo attack after solo attack. SA stole the tower at the 25-minute mark. Halfway into the match, SV was only up a mere 9,000-point lead which only took ten minutes for SV to catch and surpass.
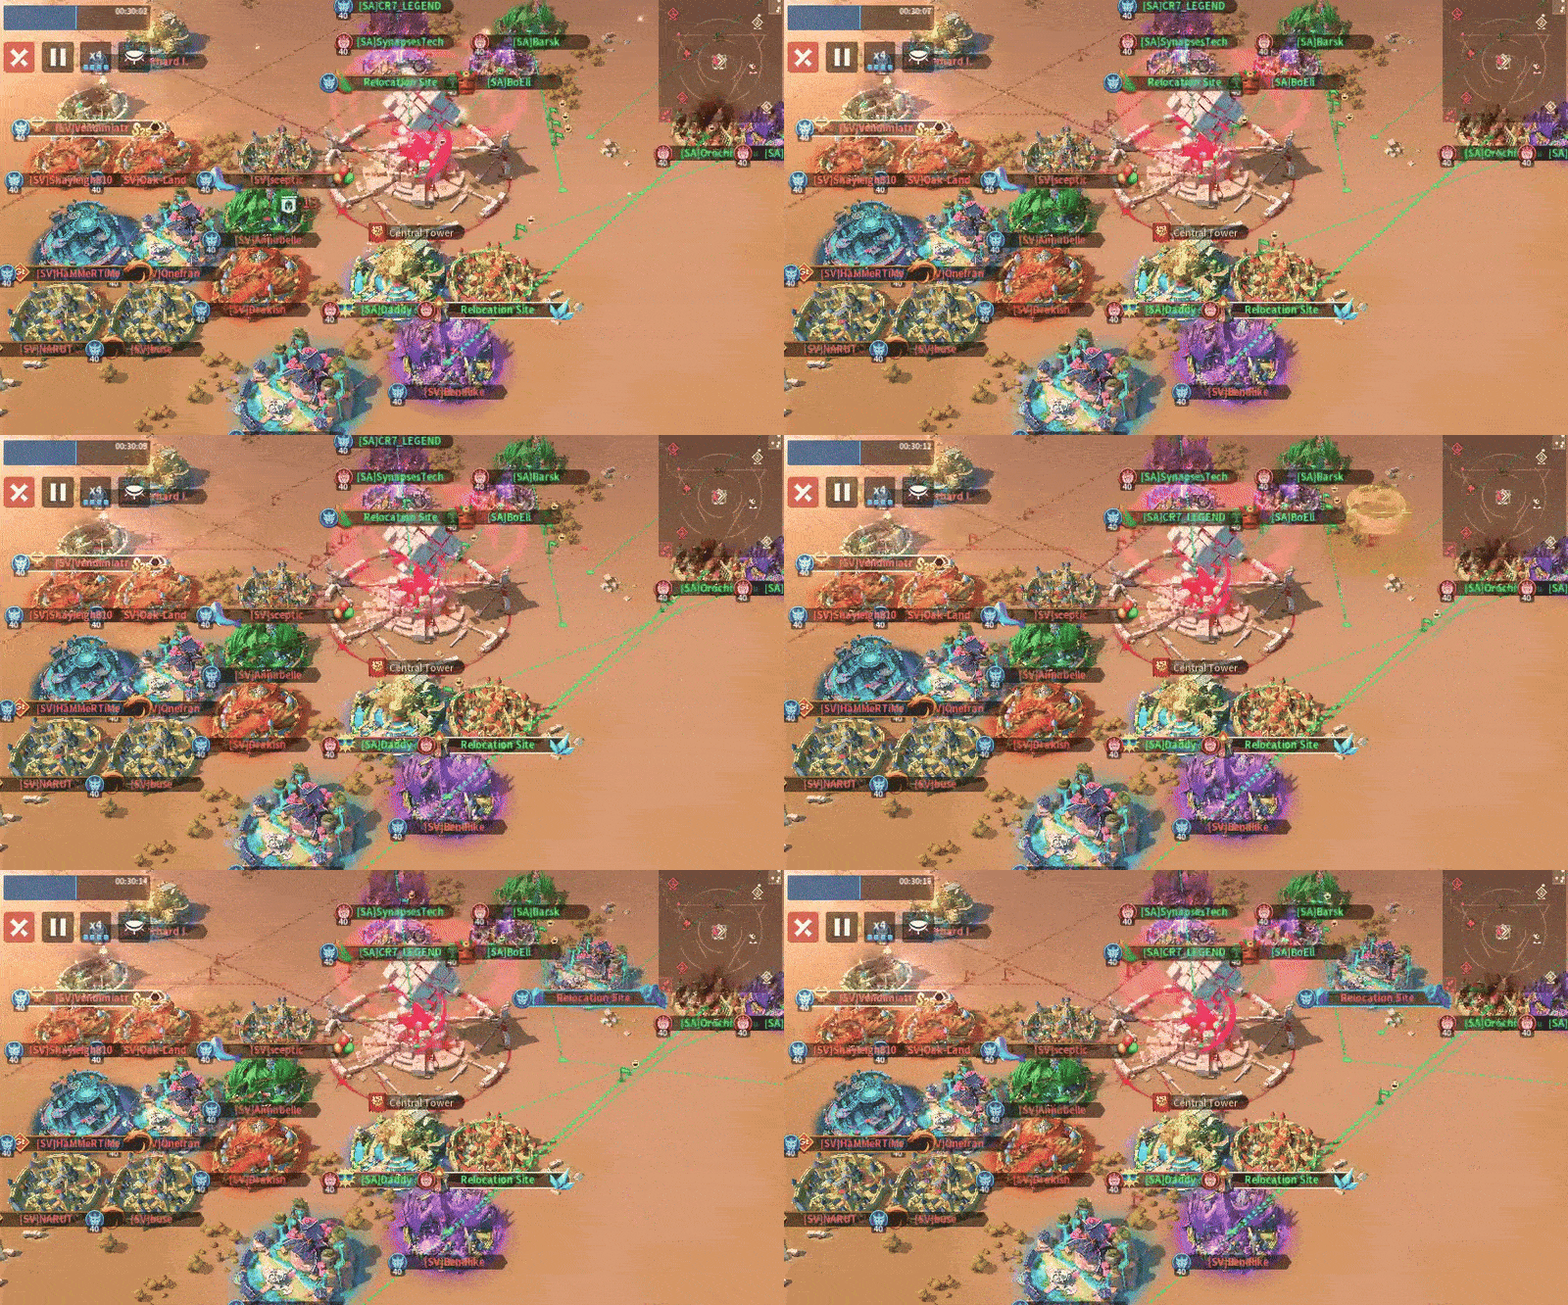
Throughout the rest of the game, SV would attempt small attacks at Tower 4 to no avail. With ten minutes left, SV finally wrestled control of the surrounding areas around the Central Tower, but SA was already over 9,000 points ahead. It would take SV another few minutes to capture the tower and another ten minutes to gain 9,000 points. SV ran out of time and SA went on to win the match.
💠Summary
SA’s TOKIO was the match MVP as they won the game with 91,700 points to SV’s 77,550. SV started out strong, taking command of three towers and then a fourth for a short period of time. Then they got greedy and their rotations went awry. Instead of gambling for a fifth tower, they just needed to defend three of the four they owned. They had more players and since neither team is proficient at rallying and garrisoning allies and destroying and blocking relocations, defense should have been easy. On the other hand, SA started out fumbling Towers 3 and 4 and then Tower 1 shortly after, they recovered well. They took advantage of SV’s overeagerness at the Central Tower to attack another objective with a weak defense. SA also defended their Central Tower well and long enough to win. They can work on relocating closer to the tower and occupying space in further matches. SA moved to 5-1 while SV dropped their second match in a row and fell to 4-2.
What matchup do you want to see next? Let me know in the comments below!
💠References
Version 2.8.5
💠Related Links
Infinity Kingdom Official Website
#infinitykingdom #sa #sv #ibl


![[Review] Analysis of AWO0 vs WOG in IBL in Infinity Kingdom](https://oss.gtarcade.com/forum/gif/2025-12-15/439967_33f7b9d7-5818-4386-800b-dccc6455f646_163315.gif?x-oss-process=image/resize,w_150,h_150)
![[Review] Analysis of SF vs MWCB in IBL in Infinity Kingdom](https://oss.gtarcade.com/forum/gif/2025-12-15/439967_3a80d9c5-5613-475c-81d2-aa32dc476deb_154146.gif?x-oss-process=image/resize,w_150,h_150)
![[Review] A Look at the Revamped Throne of the Supreme in Infinity Kingdom](https://oss.gtarcade.com/forum/gif/2025-12-15/439967_8efdbe33-6f4b-4e94-b194-227a95622ce8_145115.gif?x-oss-process=image/resize,w_150,h_150)